Create an AI Agent
Create and name your new agent.
Tip:Just getting started? Have a look at our Intro to AI Agents and our AI Agent Best Practices.
Overview
In this article, we cover creating and naming your AI agent.
This article is part of a series covering setting up and deploying AI agents. See the other parts in the series:
- Create an AI Agent - this article
- Write a Behavior Description (Prompt)
- Create Actions and Tools
- Add Your Knowledge Center
- Add Input Parameters
- Test Your Agent
- Security in AI Agents
- Integrate Into a Flow
- Use Multiple Agents
Getting There
Info:AI Agents require AI features to be enabled for your department. If you don't see the AI menu option in your settings menu, reach out to your implementation partner or Glassix contact to request access.
To access your AI Agents click here or:
- Go to Settings.
Click on the symbol in the agent dashboard.
- Click Chatbot and AI → AI Chatbot → AI Agents
Creating an Agent
Choosing Between a Blank Agent and a Template
Every time you go to add a new AI agent, you'll be presented with four template options to choose from:
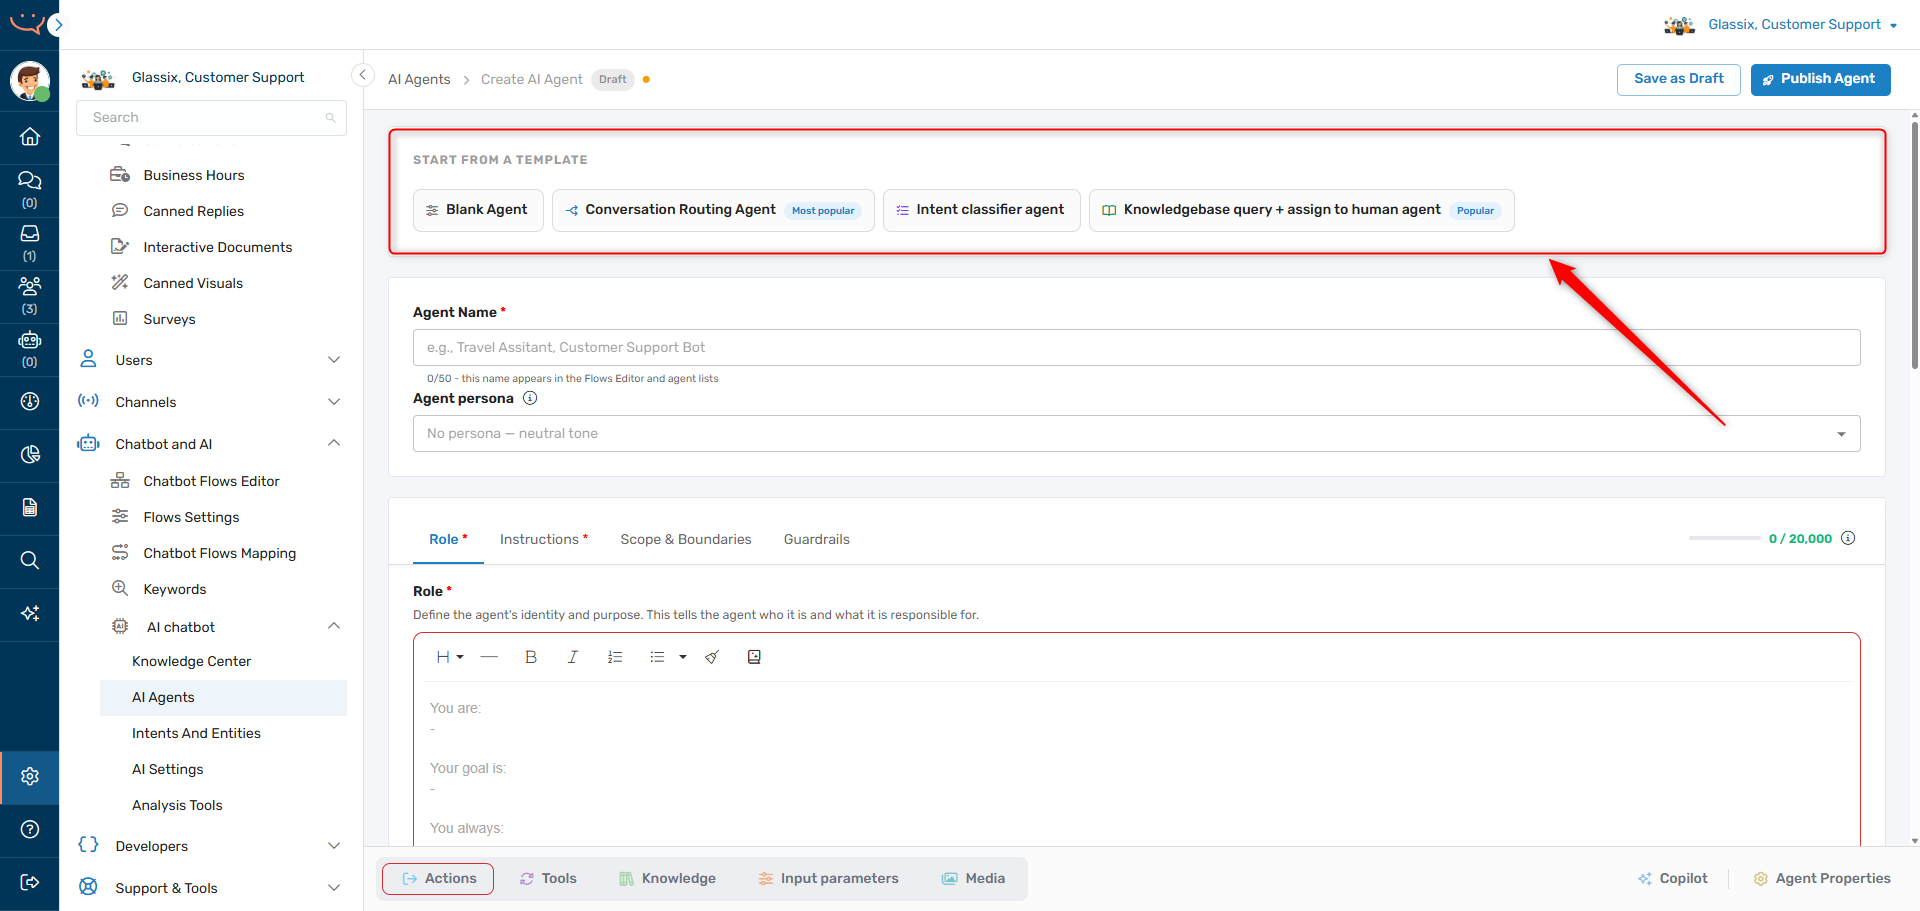
The first option allows you to build an agent from scratch, while the next three options are prebuilt starter templates:
- Blank Agent - A completely blank agent with no predefined behavior or actions.
- Conversation Routing Agent - A basic agent for automatically routing conversations to your support or sales teams, based on a conversation with the customer.
- Intent Classifier Agent - A general-purpose routing agent that tries to understand what the customer wants to do then route them to the appropriate next step.
- Knowledgebase Query + Assign to Human Agent - An agent for answering customer questions using articles in the Knowledge Center. Includes a fallback to route customers to a human representative if necessary.
Each starter template is designed to perform its described function out-of-the-box, but can be edited to perform any other function just like a blank agent.
Tip:If you've never built an AI agent before, we recommend starting with one of the prebuilt agent templates. These are a good representation of how to build an effective agent.
Even if you plan to start from scratch, we always recommend referencing the prebuilt templates when thinking about how to design your own agents. These templates are good examples of how to build an agent and represent the most common use cases.
Naming Your Agents
After you've decided whether to use a template or start from scratch, you'll be asked to provide a name for your agent:

This name has no impact on the agent's behavior, but it will often be the only descriptor which is displayed for this agent in other areas of the UI. This means that in the Flows Editor, for example, it is this name which you will see when choosing from a list of your agents.
It is important to make this name descriptive and unique so that you can tell your agents apart from one another.
Calling your agents "Routing Agent 1", "Routing Agent 2", etc. will lead to confusion down the line when you're using agents in a flow. In the below flow, for example, it's not clear what Conversation Routing Agent and Conversation Routing Agent 2 do differently:
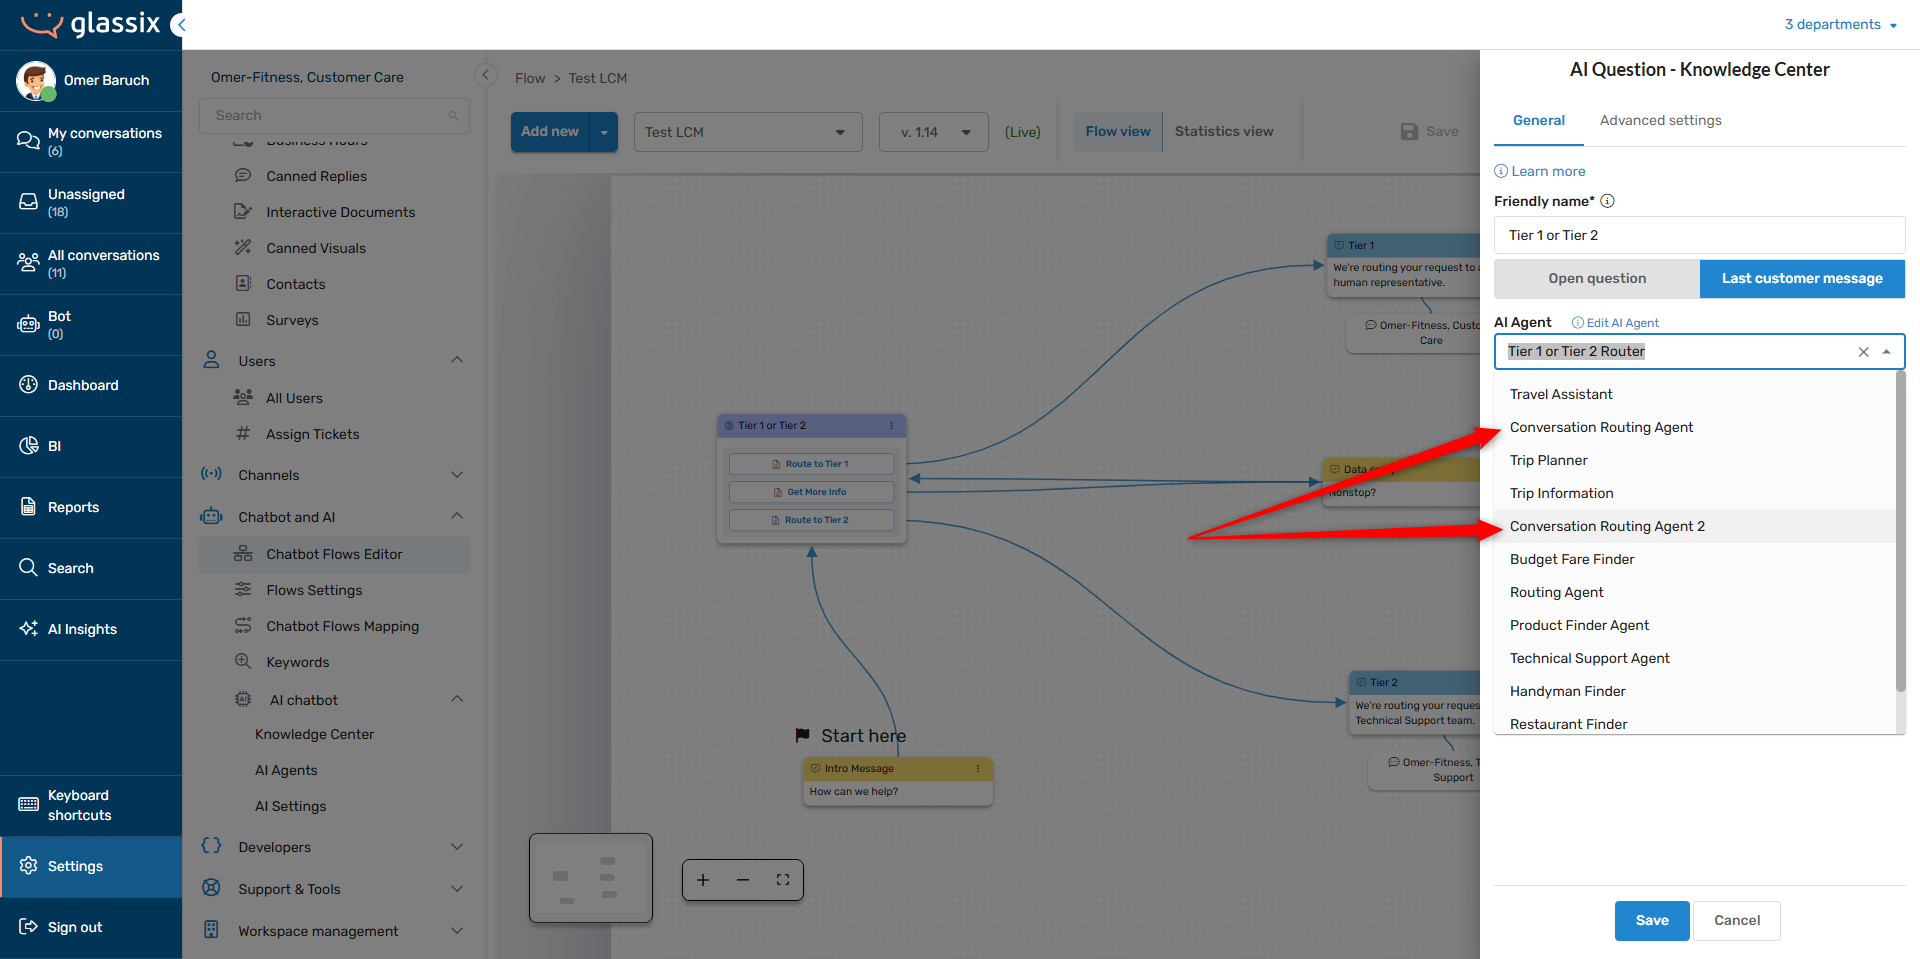
Tip:Your agent's name should clearly describe its purpose.
Next Step
Now that you have your agent created, it's time to Write a Behavior Description.
Updated about 1 month ago