Support Team Access
Overview
Your data security and customer privacy are of utmost importance to Glassix.
Therefore, you have complete control in deciding who has access to your department at any given time.
At times, you might need to grant access to your department for support and service purposes (e.g., investigating a bug or improving relevance). This access is only open to support team users.
Default Access
| User Role | Access to Agent Console | Access to Settings |
|---|---|---|
| Master User | ✔ | ✔ |
| Department Admin | ✔ | ✔ |
| System User | ✔ | ✖ |
| Read Only | ✔ | ✖ |
| Support Teams | ✖ | ✖ |
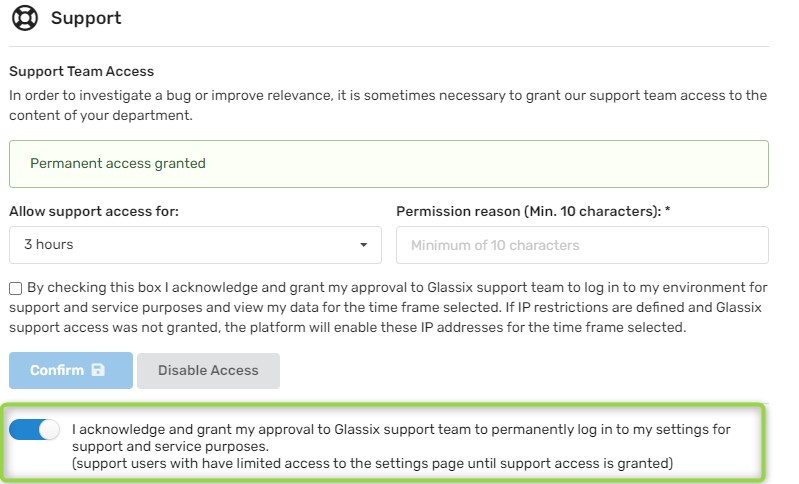
Granting Temporary Access
Granting this access gives support team full access to your department (agent console and settings) for a limited time of your choice.
Support teams are given the same capabilities as Department Admins
- Go to Settings.
Click on the symbol in the agent dashboard.
- In the Support & Tools section, click on Support.
- In the Allow support access for: drop down list, click on the desired time frame.
- In the Permission reason (Min. 10 characters): text box, give a reason.
- Click the check mark → Confirm.

Note:You can disable this access at any time by clicking on Disable Access.
Limitations
In the Support section, support teams can only disable access or run Network diagnostic tool.
Granting Permanent Limited Access
Granting this access gives support team permanent limited access to your department settings. This access only provides access for support purposes and limited department settings.
Note:This access won't allow support teams access to your data!
- Go to Settings.
Click on the symbol in the agent dashboard.
- In the Support & Tools section, click on Support.
- Click on the Toggle
Limitations
Disabled access:
- Contacts
- Security
Limited Access:
| Feature | Disabled |
|---|---|
| Users → All Users |
|
| Developers → API Keys |
|
| Developers → Webhooks |
|
| General → Support | 1.Support Team Access |
Updated 12 months ago