Add Conditions Step v2
Split your flow depending on specified parameters to accomodate different scenarios and purposes.
Overview
The Condition Step is used to split a flow based on criteria defined within the Step. As an example, a condition could be set to differentiate between a set of customers based on the email address of the customer. For example, maybe you have a brand of coffee shops, and a branded shop for tea enthusiasts. When purchasing a franchise, an email with a specific domain might be assigned to franchise owners of each. A condition could be set to direct users with these emails into a particular flow.
A Condition Step provides a single either/or option. Multiple parameters can be set, but each parameter leads to a binary outcome. If the parameters are met, then one outcome is selected, if not, then the second option. In the above example, if the email address has either of the selected domains (or both if "AND" is selected) then it will go to "X" or "Y".
Multiple conditions are required if you wish to select different outcomes dependent on parameter. For example, if you wanted to direct customers to one flow if the email address had "@cosmiccoffee.co" and to another flow if it was "@cosmicentiteas.co", or multiple such criteria, then a Switch Step should be selected. Note that with either option, if the parameter is not met, the negative outcome has to go to the same place.
Add Conditions Step
-
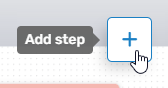
To add a Conditions Step to your chatbot flow, you can add a step via any one of the three methods covered in **Flows Editor: Add a New Step *. The primary method is to click the Add Step button found at the top right of the Flow Editor.
Adding a **Step **can also be done by right-clicking anywhere within the Flows Editor, or by dragging from an existing Flow Step.
-
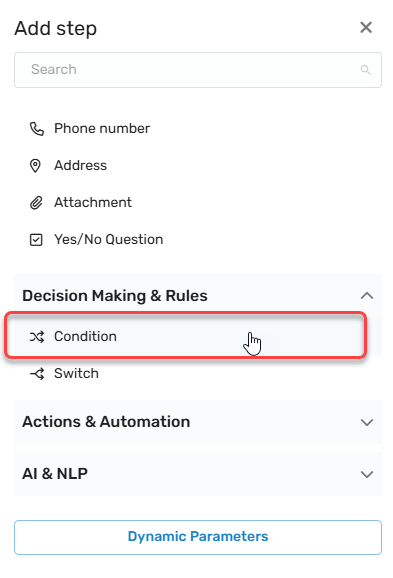
Regardless of the method used to add the Flow Step, the Add Step menu will open, allowing you to select the desired option. To add the Condition Step, either expand the Decision Making & Rules category and select the desired parameter (Condition), or use the search bar to search for it.
-
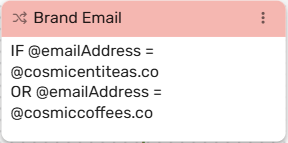
Once selected, the Condition Step will be added to the Flow Editor. As with any flow step, you can drag and drop it wherever it is needed. (If you used the right-click method to open, it will appear in that location.)
-
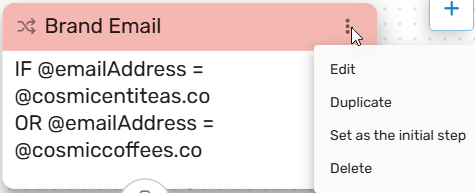
Clicking the Menu button (three dots) will allow you to:
-
Edit the Condition Step.
-
Duplicate the Condition Step
-
Set as the initial Step
-
Delete the Condition Step
-
Condition Question Step Edit Menu
In most cases, you will first edit the Condition Step before duplicating or determining its place in the flow. Click Edit, and the Edit Menu will open. The Edit Menu will open on the right side.
Under General, you can:
-
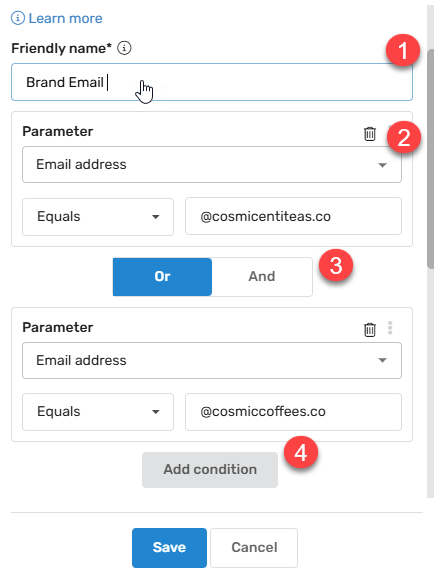
Provide a Friendly Name: - This allows you to differentiate between different variants of the same Step. In larger flows, many multiple choice menus may be required, and you may want to be able to tell different Condition Steps apart in the API or in reports. A unique Friendly name makes it simple to find the correct step that was used in the conversation.
-
Parameter: - By default, the first parameter is configured as Customer Name and "John Doe". The parameter can be configured to meet your needs. For example, if we consider the example in the Overview, we would select Email Address, and then the criteria that has to be met, such as equals or doesn't equal "@cosmiccoffee.co".
-
And/Or: - If additional parameters are required, you can determine if multiple parameters must ALL be met, or any one parameter is enough. If more than one parameter must be equal, use AND. If it can be any of the set parameters, use OR.
-
Add Condition: - Here you can add an additional condition, such as an additional email domain. In the above example, the parameter might be "@cosmicentiteas.com".
-
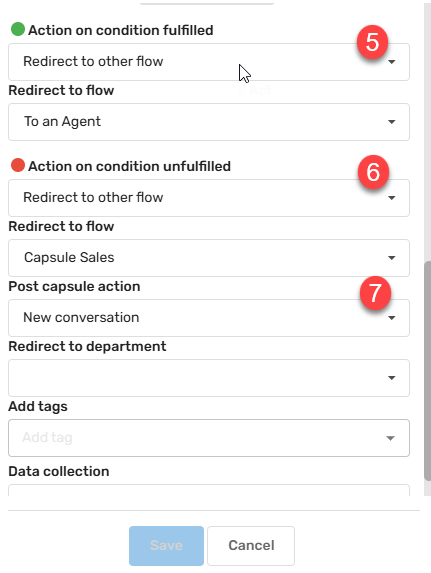
Condition Fulfilled: -
-
Condition Unfulfilled: -
-
Post Capsule Action: - This is not always present, it depends on the options selected. (unsure what this is for, awaiting input)
Connecting the Condition Step to Other Components
In most cases, data collection steps are found at or near the beginning of most flows. Therefore, they will typically need to connect to the next step in the flow or receive a connection from a previous flow. Three methods are provided to connect your Step to other components within the Flow. A detailed description of these methods can be found in the Flow Editor: Connecting Flow Steps..
Updated about 2 hours ago