Add Buttons Step
Add a Multiple Choice Menu Step to direct users within a chatbot flow.
Overview
A Button Step is a Menu Step used to direct traffic within a given chatbot flow, and is used at the beginning of Flows or at junctions in the Flow. The default Main Step automatically added at the beginning of a new chatbot Flow in the Flow Editor is a Button Step.
The Button step can be used wherever a new multiple-choice direction in the Flow is required.
The first step in an organization's chatbot flow might be the reason for making contact. An online coffee company, for example, might use the initial "Main" Button Flow to determine if you are calling to make a wholesale order, inquiring about franchise opportunities, purchasing equipment, or looking for webstore/application support. Each would take you down a different chatbot flow.
If you offer multiple brands of coffee, a later Button Step in the wholesale purchase option might list those brands and direct you to a store page (URL) based on your selection.
Add Button Step
- To add a Button Step to your chatbot flow, you can add a step via any one of the three methods covered in **Flows Editor: Add a New Step *. The primary method is to click the Add Step button found at the top right of the Flow Editor.
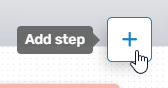
Adding a Step can also be done by right-clicking anywhere within the Flows Editor, or by dragging from an existing Flow Step.
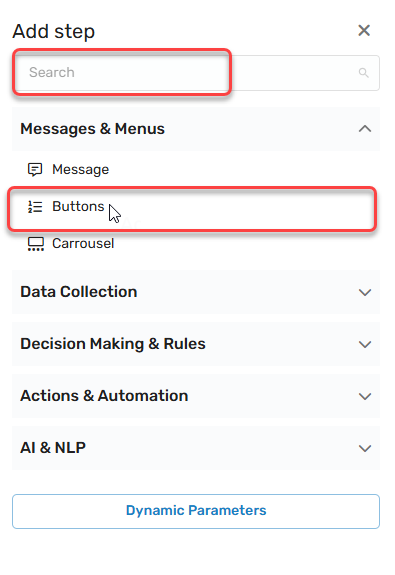
- Regardless of the method used to add the Flow Step, the Add Step menu will open, allowing you to select the desired option. To add the Buttons Step, either expand the Messages & Menus category and select the desired parameter (Buttons), or use the search bar to search for it.
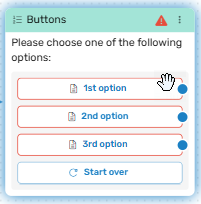
- Once selected, the Buttons Step will be added to the Flow Editor. As with any flow step, you can drag and drop it wherever it is needed. (If you used the right-click method to open, it will appear in that location.)
-
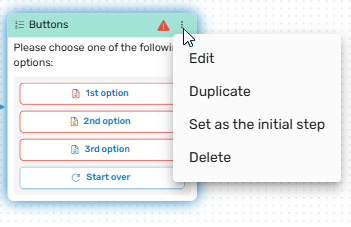
Clicking the Menu button (three dots) will allow you to:
- Edit the Button Step.
- Duplicate the Button Step
- Set as the initial Step
- Delete the Button Step
Buttons Step Edit Menu
In most cases, you will first edit the Buttons Step before duplicating or determining its place in the flow. Click Edit, and the Edit Menu will open. The Edit Menu will open on the right side.
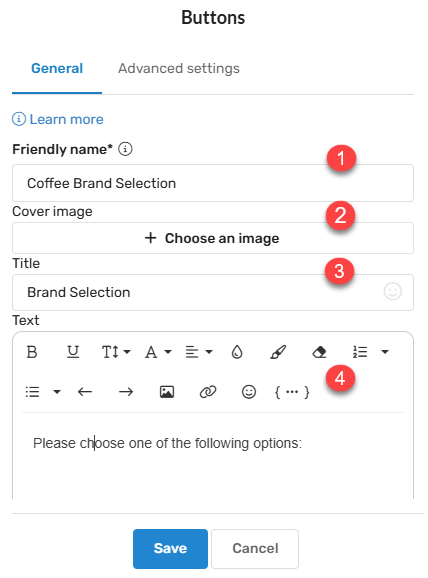
Under General, you can:
- Provide a Friendly Name: - This allows you to differentiate between different variants of the same Step. In larger flows, multiple button menus may be required, and you may want to be able to tell different Button steps apart in the API or in reports. A unique Friendly name makes it simple to find the correct step that was used in the conversation.
- Cover Image: - The cover image is a cosmetic component, allowing you to enhance the appearance of your request for the customer's name in the chatbot flow. If we consider the coffee company example, here is where the company logo might be put.
- Title: - The Title field is the text above the input field you wish to present to the user. Using the coffee company example, this new Button Menu may have a title of "Brand Selection".
- Text Box: - The text box allows you to define the text that the customer sees in the prompt. For the coffee company example, the text box may read "Select your coffee brand".
Click Save when you've defined the parameters of your Buttons Step component.
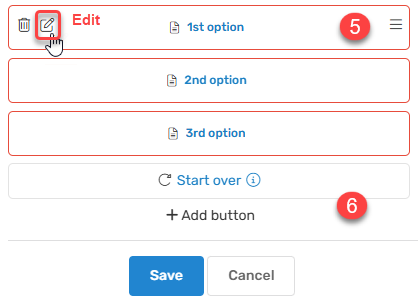
If you scroll down a bit further, additional options are presented for Buttons Steps. Here, you can define the options you wish to provide within the Step.
-
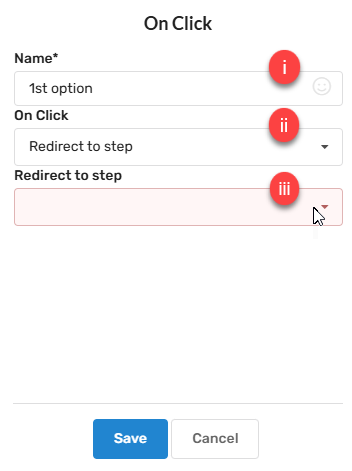
Three default options are provided when a new Button Step is created by any of the Add Step methods other than the Add Menu button. These default options can be edited by selecting the Edit icon as depicted above. The trashcan icon can be used to delete the option. The three line icon in the right corner is used to drag and drop the option to any position in the order. If edit is selected, the On Click menu is presented, with the following options:
-
Name: Provide the text describing the option.
-
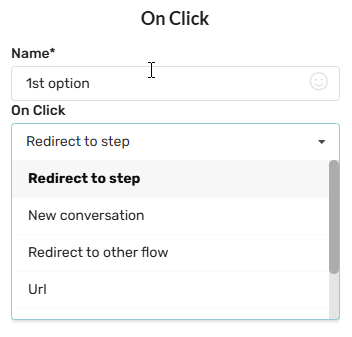
On Click: Here you select what the button will do.
-
The latter options change depending on the On Click Selection. For example, Redirect to step will direct to an existing or newly created Step.
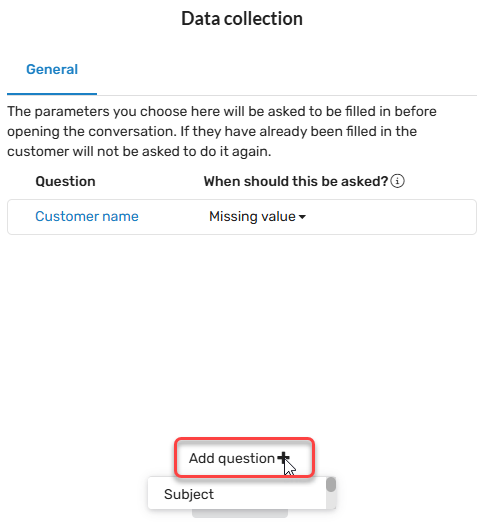
New conversation will allow you to direct to a particular (existing) organizational department, add a tag, and/or define a few preconfigured data collection points.

Click within the Data collection field to modify the number of data points you wish to collect. This will select from available data collection steps within the flows associated with the selected department, based on Friendly Name. Click the plus sign to select the desired data collection points from the dropdown.
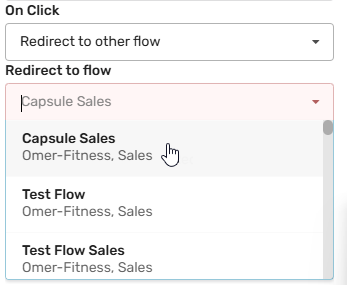
Redirect to other flow redirects to other previously created Flows. Scroll the list, or type ahead to find the desired flow.
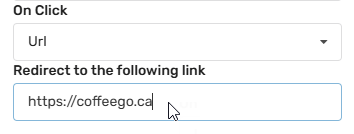
URL allows you to redirect the customer to a particular site, such as a webstore or landing page.
-
-
If you need to add additional options, click the Add button option, and follow the same guidance provided above for editing the option.
Connecting the Button Step to Other Components
Three methods are provided to connect your Step to other components within the Flow. A detailed description of these methods can be found in the Flow Editor: Connecting Flow Steps.. Note that with a Button Menu component it is not the Step itself connecting to other Steps, Flows, or Departments, but the buttons themselves, as described above.
Updated 10 months ago