Voice Overview
Connect AI agents and bot flows to a voice channel
Overview
Our voice channel allows you to connect your automated, AI-powered flows to both VOIP and traditional telephone numbers, with the option to transfer to live agents as needed.
The voice channel includes the full range of options one would expect from a telephony channel, plus a range of features intended to make the transition between voice agents, text agents and live agents as seamless as possible:
- Receive Inbound Calls: Route calls from your connected phone numbers to AI agents automatically with mappings, just like any other channel.
- Use Your Existing Flows: Choose from a range of voices and AI text processors. Use your existing flows in voice channels with no or minimal changes.
- Hand Off Seamlessly: Hand off to human agents at any time, both manually and automatically, providing agents with real-time transcriptions of the conversation up to the handoff.
- Transfer to PSTN Numbers and SIP Addresses: Forward callers to real phone numbers (mobile, landline, etc.), or to your internal telephony system, PBX or carrier.
Getting There
To access your voice number click here or:
- Go to Settings.
Click on the symbol in the agent dashboard.
- Click Channels → Glassix Voice
Connect a Number
To receive phone calls to your department, you will first have to connect a phone number. This process will require different steps depending on where your phone number is hosted.
Click here for our general guide to connecting numbers across all providers, or select a provider below for a guided tutorial:
Map a Flow
Tip:Have a look at our Voice Flow Best Practices for our top recommendations on how to effectively make use of flows in your voice channels.
Mapping a flow to a voice channel works just like mapping a flow to a text channel, and your existing flows will be automatically converted to voice flows when mapped to a voice channel.
If you haven't already, have a look at our Flow Mapping article for instructions on mapping a flow to a channel. Your voice numbers will show up in your Communication Channel Identifier list alongside your other channel types:
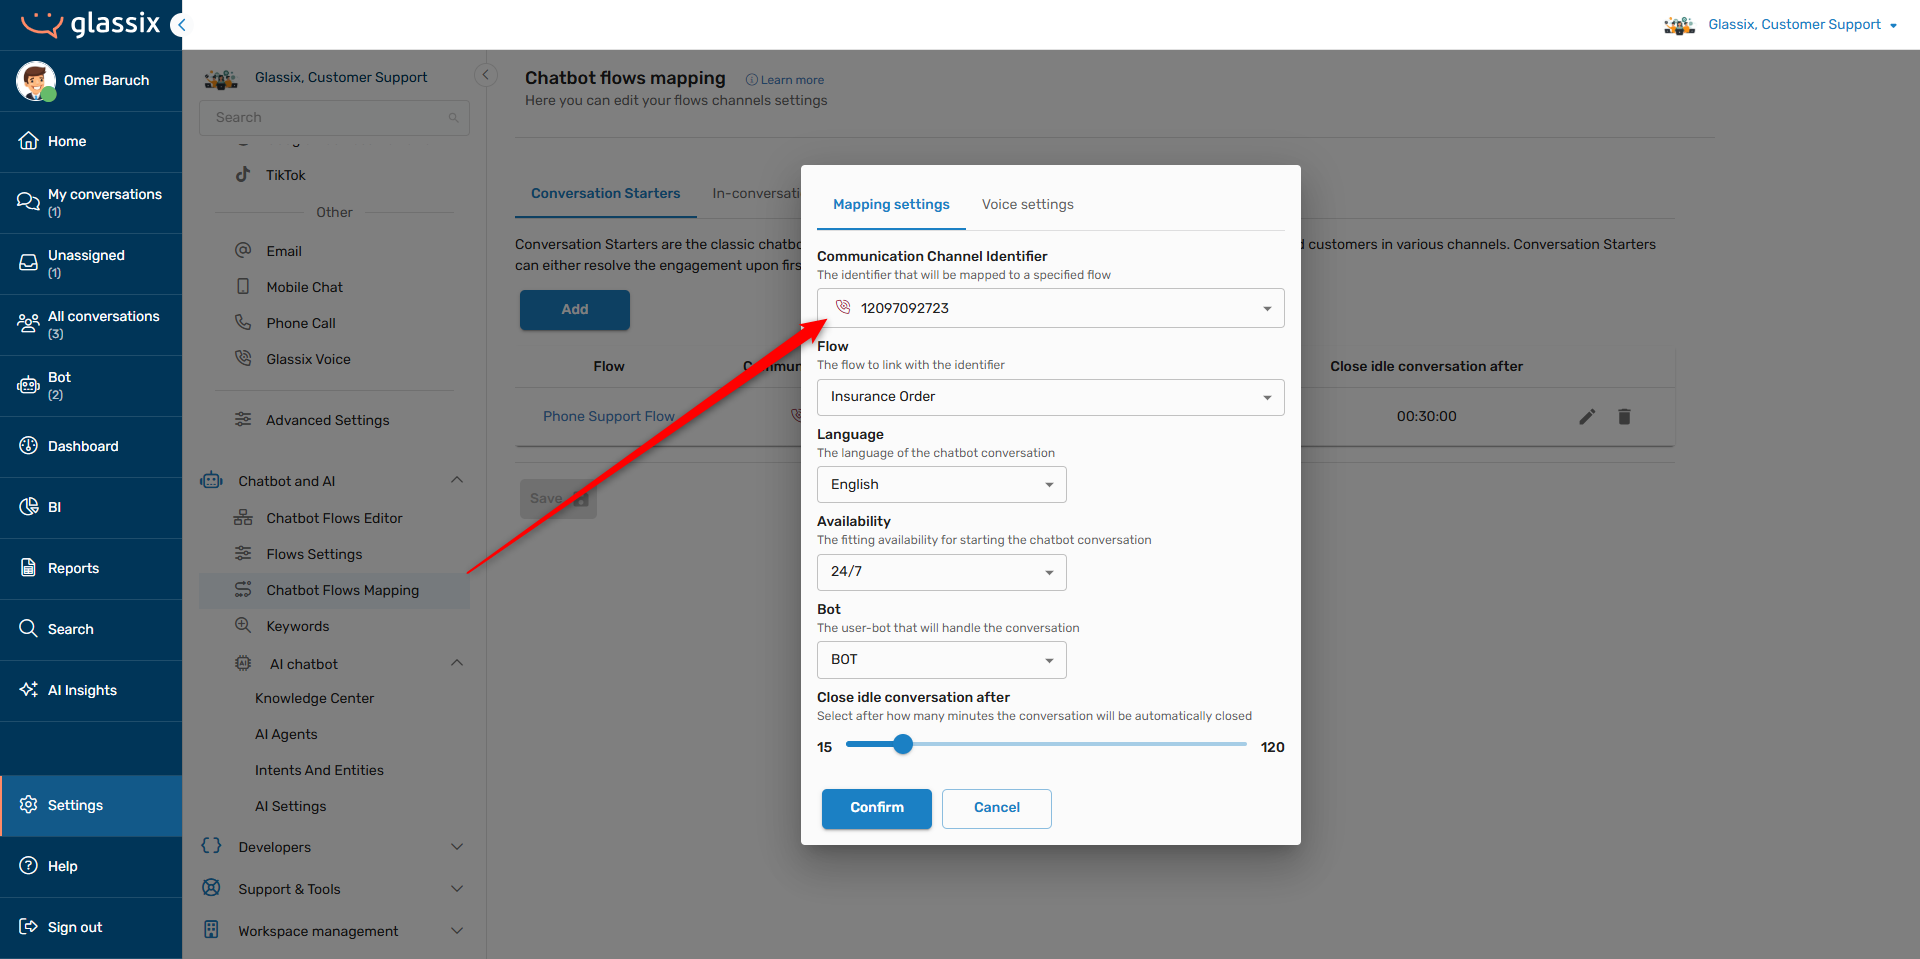
Voice Settings Tab
Info:You will only see this tab appear when a voice channel identifier is selected.
In addition to the normal flow mapping settings, voice channels have their own additional tab of voice-only settings:
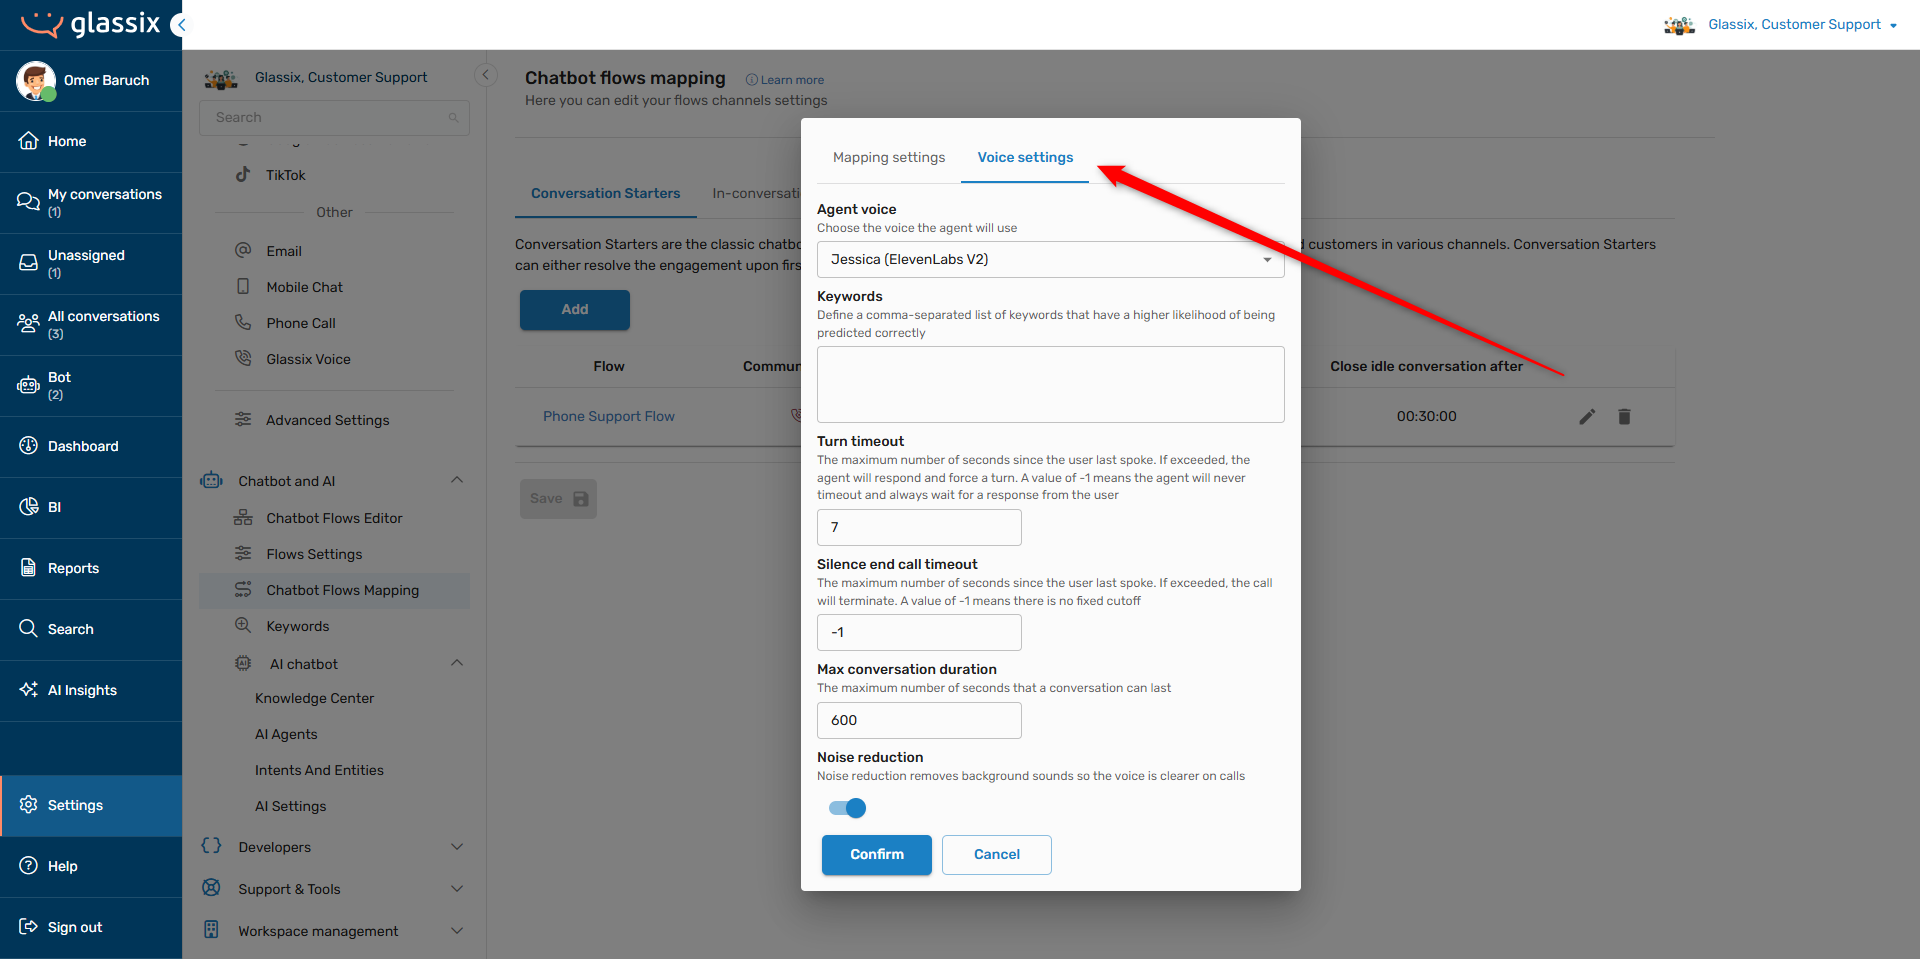
These settings allow you to control the behavior and tone of the voice model which will be interacting with your customers, along with voice-specific waiting times and durations.
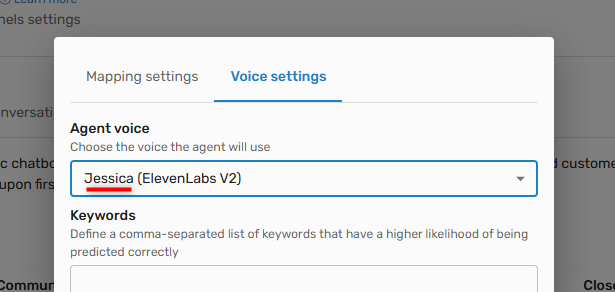
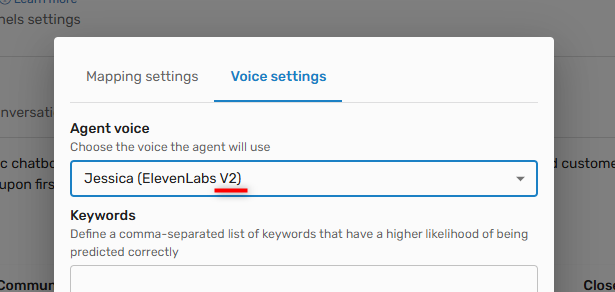
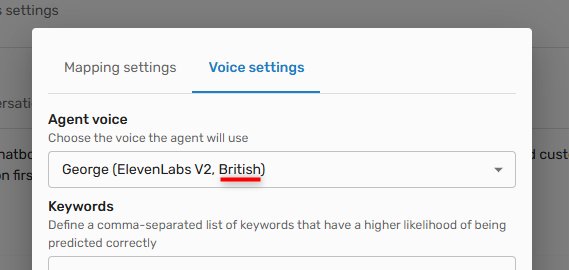
Agent Voice
Note:Agent voices are language-specific. If you don't see a particular voice or accent you're looking for, make sure you have the correct language selected in the Mapping settings tab.
The agent's voice controls its speed, accent, tone and accuracy. For each voice in the list, we include a number of labels to help you choose the right model for your customers:
-
Personality - The voice's "name" is its personality, controlling its accent and tone. Each voice labeled with the same name will have a similar accent and tone.
-
Model - The voice's model (along with its version) controls its accuracy and speed. Different models will do better with certain content than others, so it's important to experiment and see which one handles your flow the best:

-
Version - The voice's version (along with its model) controls its accuracy and speed. V2 models will generally be faster but less accurate, while V3 models will generally be more accurate but slower:
-
Accent - (Currently available in English only) If the voice is not American, its accent will be displayed:
Keywords
Info:This setting is optional.
Keywords are pre-defined words that you may provide ahead of time in order to improve the accuracy of your voice agent for specific words:
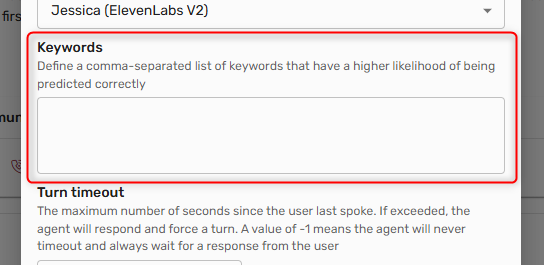
Defining keywords can help your voice agent more accurately pronounce things like product names, jargon and proper nouns.
Timeouts and Durations
The timeout and duration settings allow you to define voice-specific inactivity periods and silence timeouts:
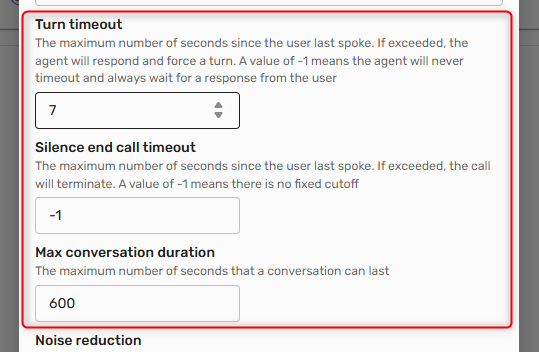
Unless you notice an issue, we recommend the following settings:
- Turn timeout: At least 20 seconds
- Silence end call timeout: No limit (-1)
- Max conversation duration: 600 seconds (10 minutes)
These allow your customers enough time to respond, especially when they're looking for important information or they're distracted, while still limiting the number of open calls at any one time.
Noise Reduction
Tip:Noise reduction reduces the noise from the customer's microphone, not from the voice agent. Voice agents should always be perfectly clear, even without any noise reduction!
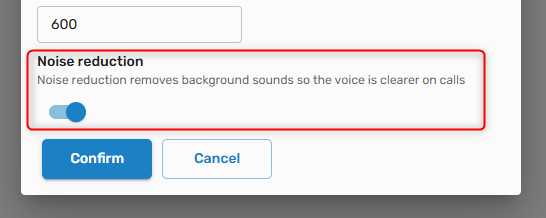
Enable noise reduction to increase the clarity of the audio recorded from the customer's microphone, helping to improve accuracy and reduce processing time for agent responses.
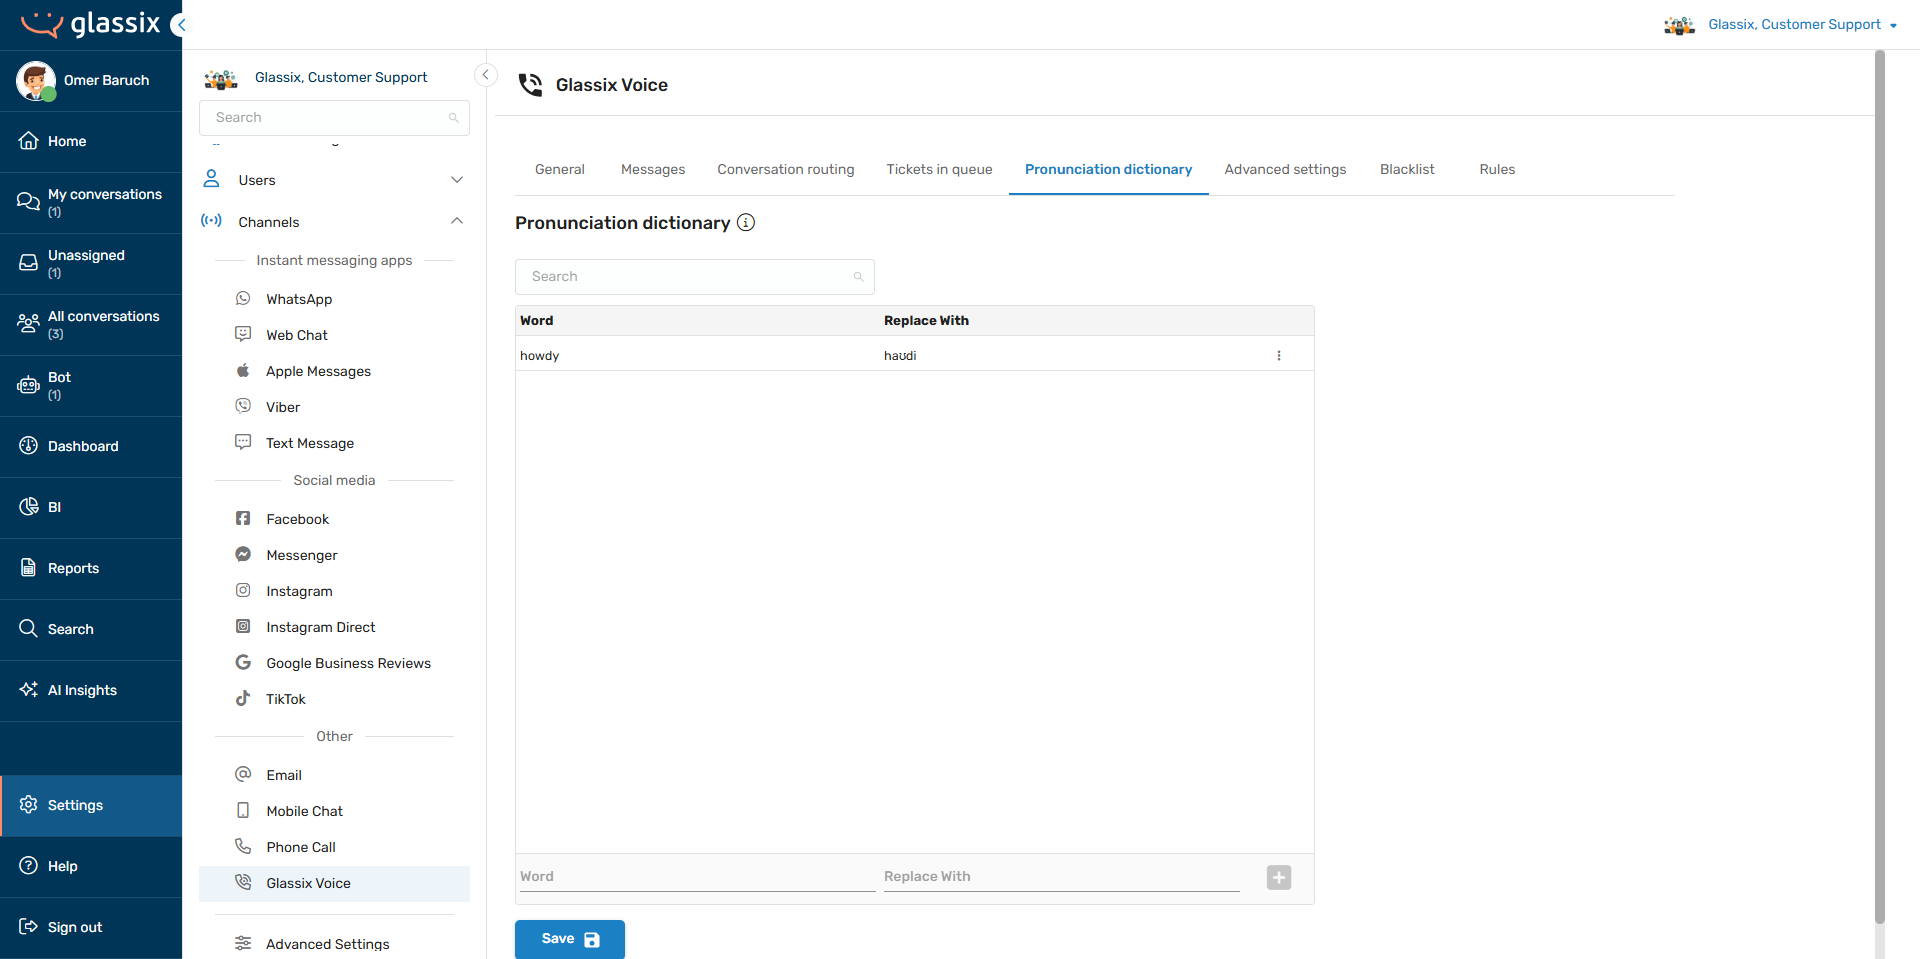
Add Custom Pronunciations and Replacements
When you would like more control over how your voice agent pronounces certain words, or if you would like your voice agent to use a specific word instead of another ("boot" instead of "trunk", for example), you may add these words to the Pronunciation Dictionary.
The dictionary is available by clicking here, or in the voice channel settings under the Pronunciation dictionary tab:
Modifying Pronunciation
Tip:
To modify the pronunciation of a word, first add the word you want to modify in the Word field, then add the desired pronunciation in the Replace With field:
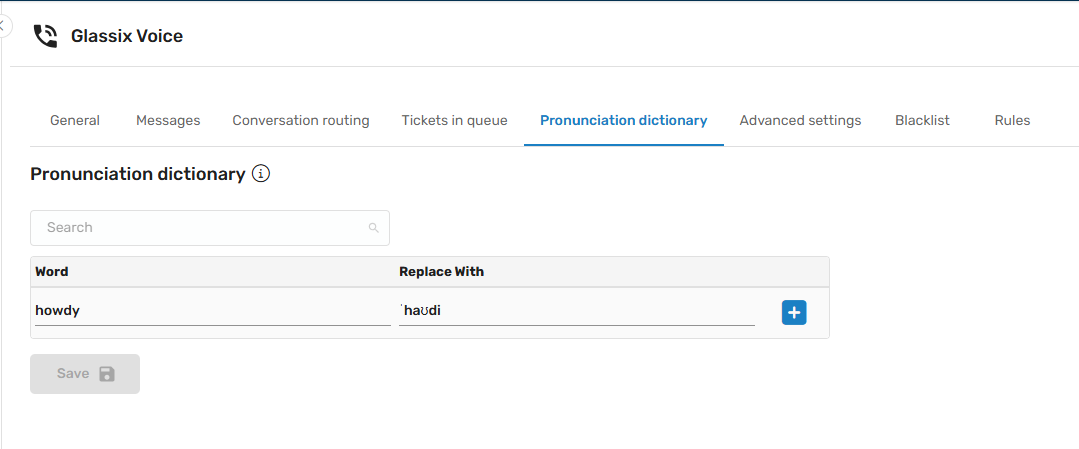
The Replace With field supports diacritics, phonetic alphabets, accent marks and other orthographic conventions depending on the language. For languages other than English, please reach out to your implementation partner or Glassix contact for specific support available in your language.
For English, this field supports both IPA and CMUdict phonetic alphabets.
Replacing Words
To replace one word with another (for example, to make sure your voice agent always says "flat" and not "apartment"), enter the word you want to replace in the Word field, then add the desired replacement word in the Replace With field:
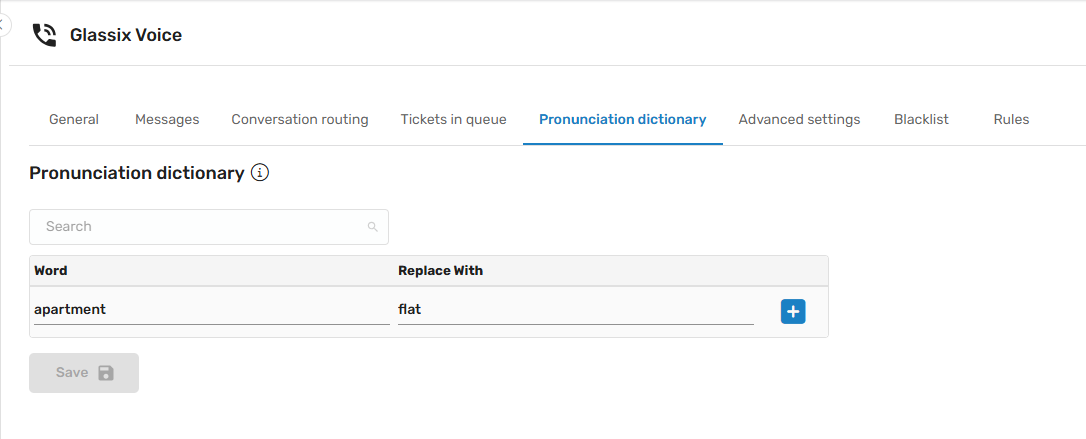
In the example above, whenever the agent would otherwise say "apartment", it will now say "flat" instead. This is useful for localization and for removing words you would prefer your agent didn't say.
Updated 6 months ago