Channel Settings Overview
Learn in detail about the different channel settings in Glassix
This article covers the settings that appear across all channels in Glassix. While most tabs are shared across channels, some settings are specific to a channel. The particular settings are covered in the last section of this article.
To find the channels, navigate to settings -> channels.

General
The General tab is the first thing you'll see across all the channel's settings. It has various settings that control whether the channel is active, outbound tickets, and non-ticket messages.
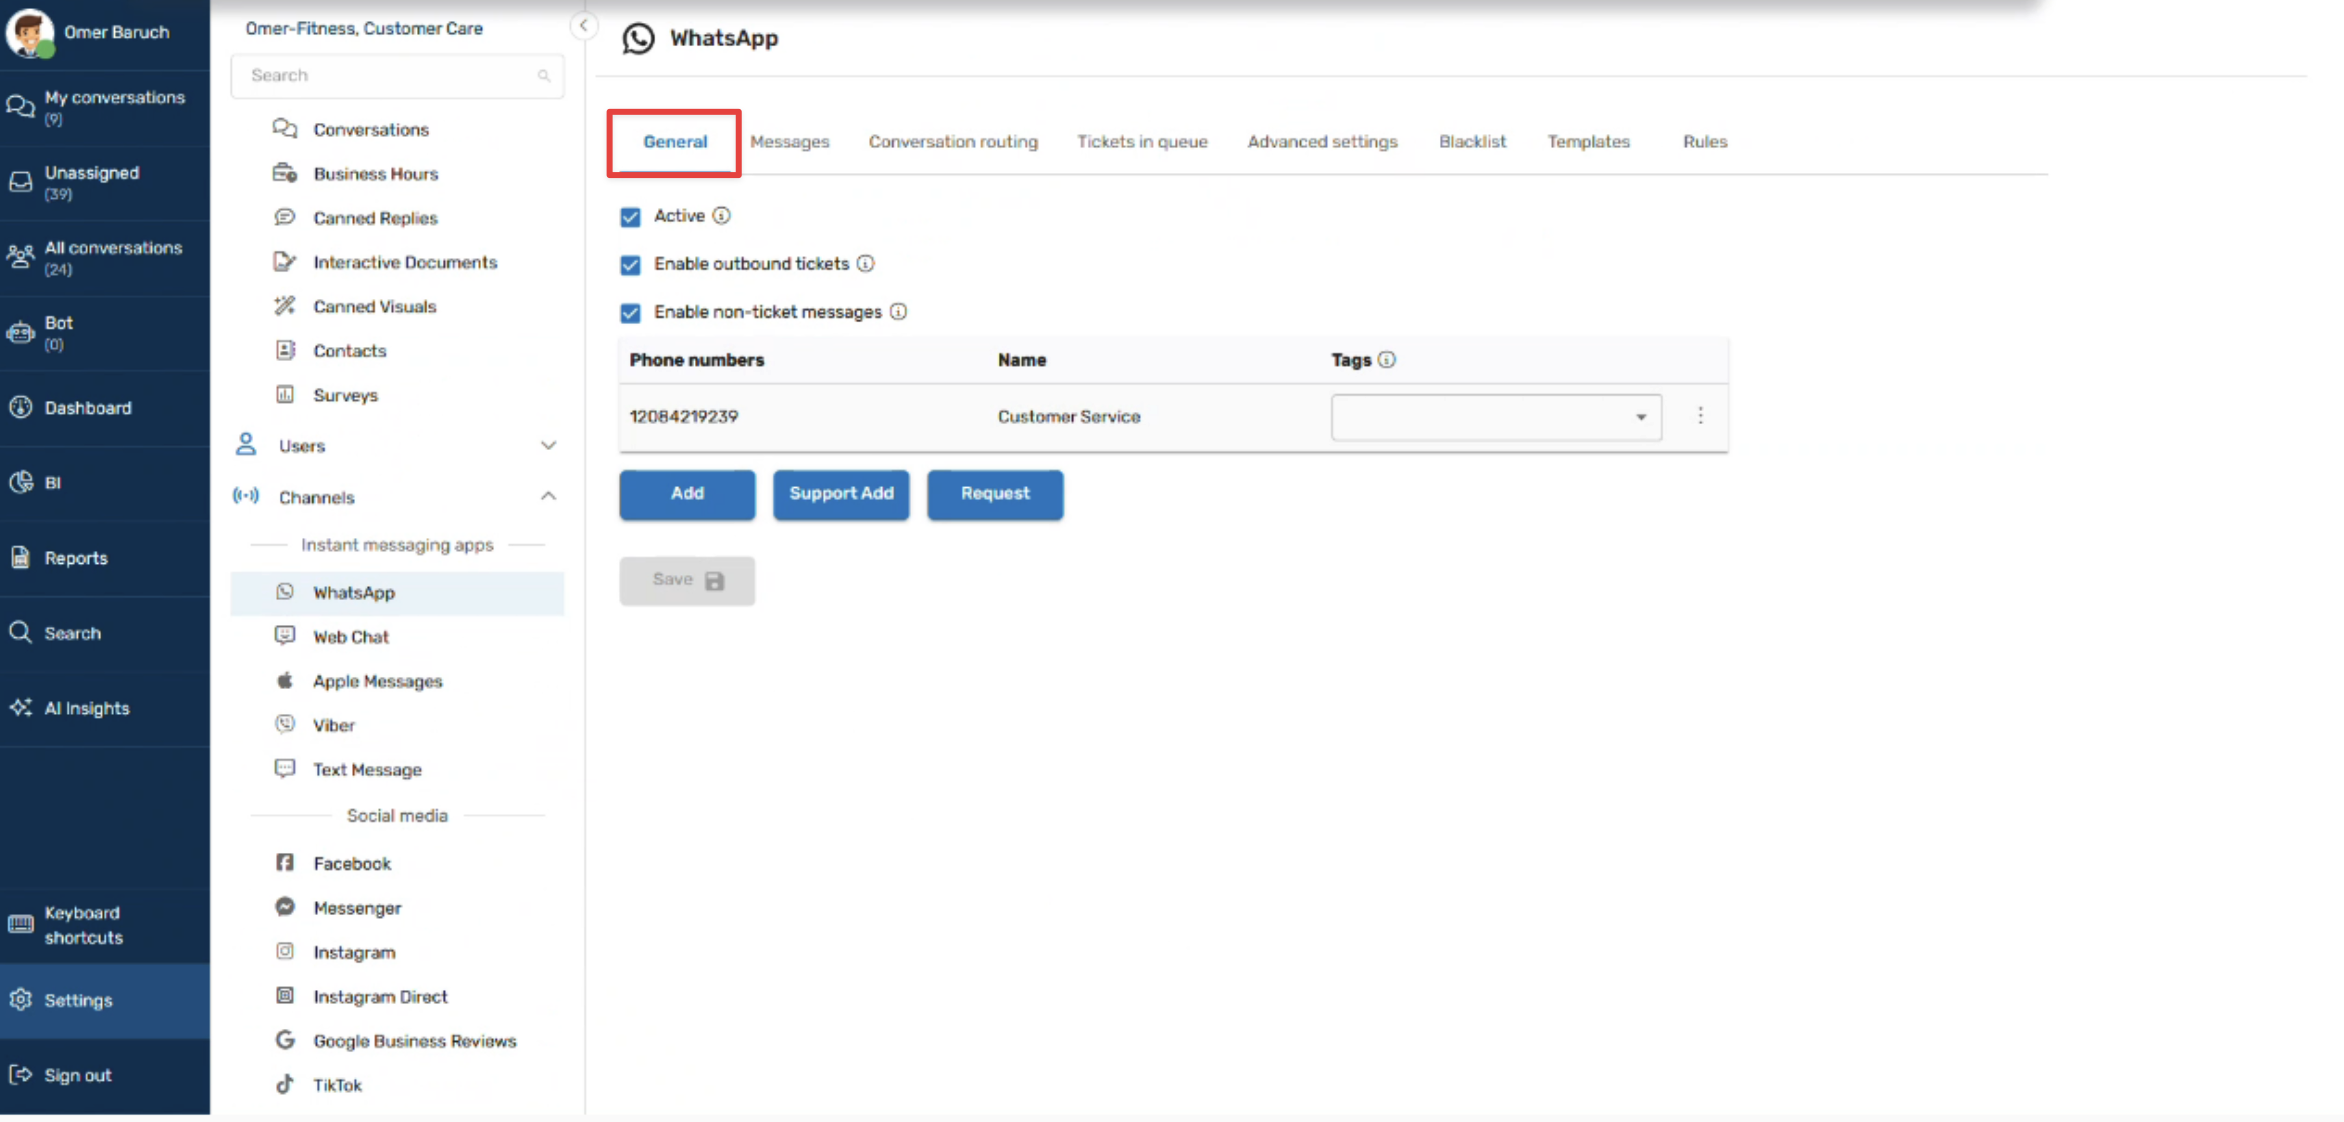
Active
The Active toggle enables or disables the channel entirely. When a channel is turned off, no new tickets will be created from it. Customers who try to reach you through that channel, for example, sending a WhatsApp message, won't get through, and their messages won't appear in your queue. Use this if you don't plan to temporarily take a channel offline.
Enable Outbound Tickets
When enabled, Outbound Tickets lets agents initiate new conversations from within Glassix, rather than waiting for a customer to reach out first. For example, users can create tickets and communicate via WhatsApp directly when this setting is enabled.
Enable Non-Ticket Messages
Non-Ticket Messages allows you to send messages via the API without opening a ticket. This is primarily used for high-volume outbound campaigns, for example, sending a message to thousands of contacts at once, where you want replies to be logged without creating individual tickets for each one.
Info:If you don't see these options in your channel settings menu, reach out to your implementation partner or Glassix contact to request access.
Identifiers
Below the feature toggle, the identifiers associated with each channel are listed. Each identifier can be given a name and tags to help organize them.
How identifiers are added depends on the channel:
- WhatsApp Identifiers are added through the Meta signup flow.
- Apple Messages Identifiers are added using the Add button, but the process is managed through Apple's Business Register.
- Web Chat Identifiers are managed separately through the widget configuration.
- Social media channels, Email, and Glassix Voice You can add identifiers directly from the General tab using the Add button.
Messages
The Messages tab is where you configure the automated messages that Glassix sends to customers at various points in a conversation. These typically include:
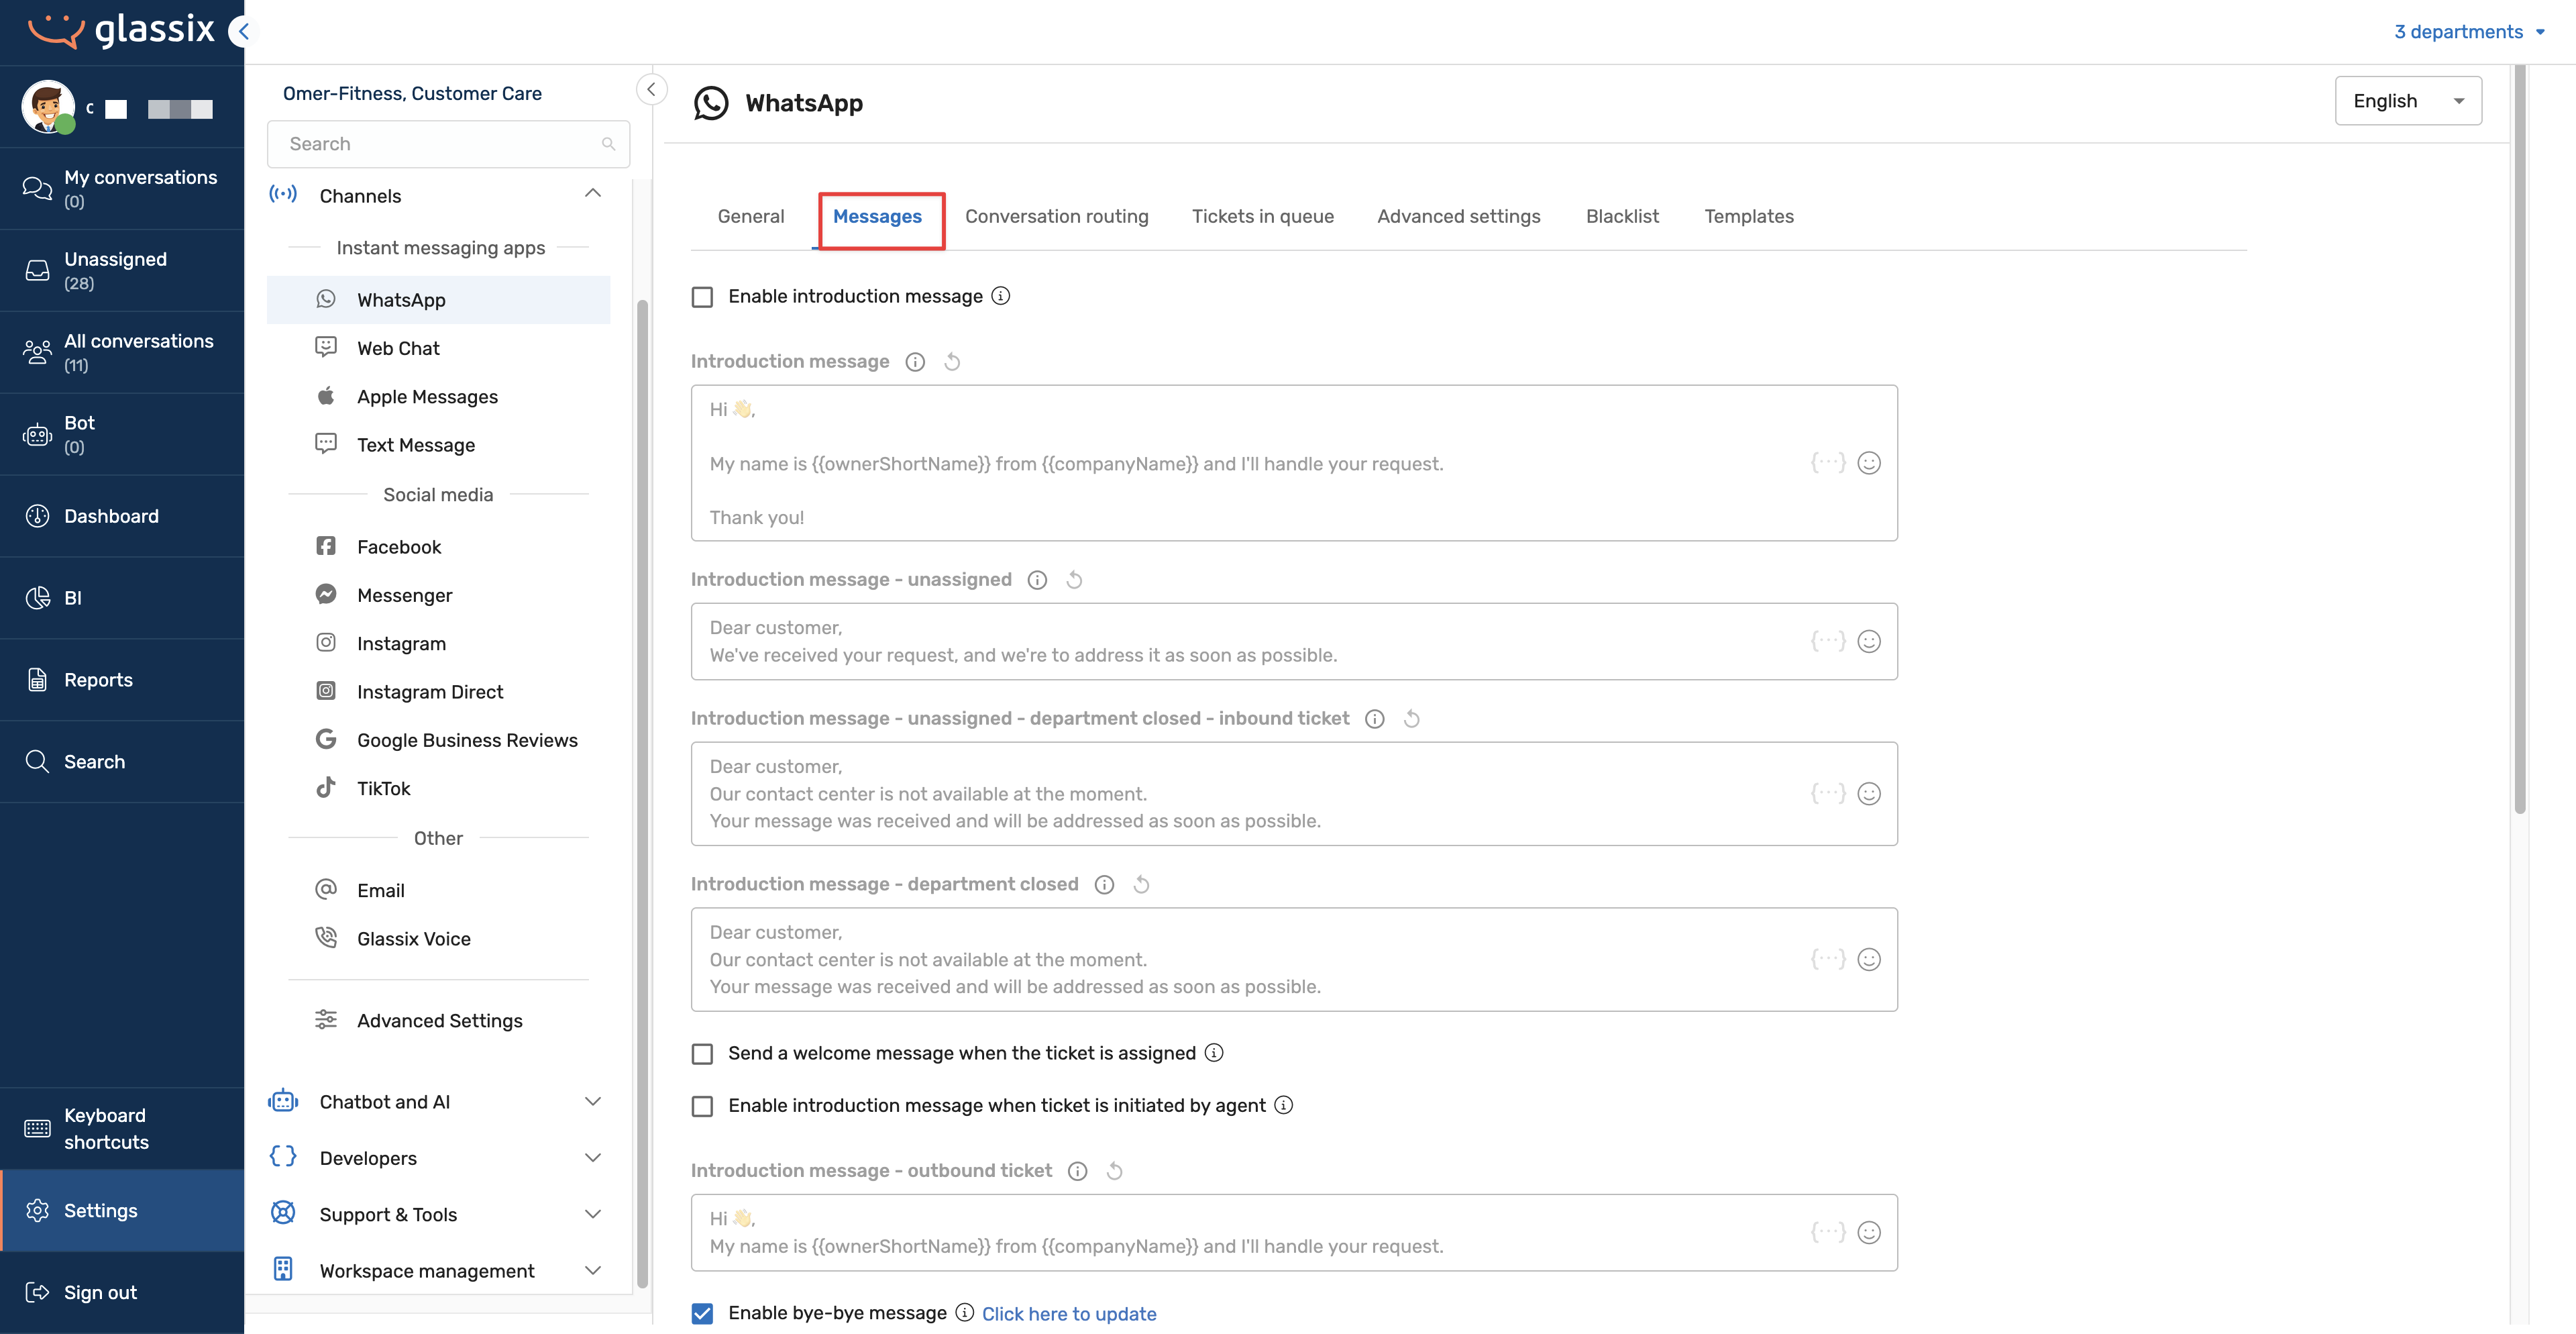
- Introduction message Sent when a customer first reaches out, before an agent responds. You can also enable/disable it via the checkbox.
- Wait time message For example, "We're experiencing higher than usual contact volume. An agent will be with you shortly."
- Closing message Sent when a conversation is resolved.
- Survey message Sent after the conversation is closed for feedback.
The specific messages available vary slightly by channel type, but every channel has a Messages tab where these can be configured. These can also be enabled/disabled via the checkboxes.
Tickets in Queue
The Tickets in Queue tab is where you control how incoming tickets are distributed to your team.
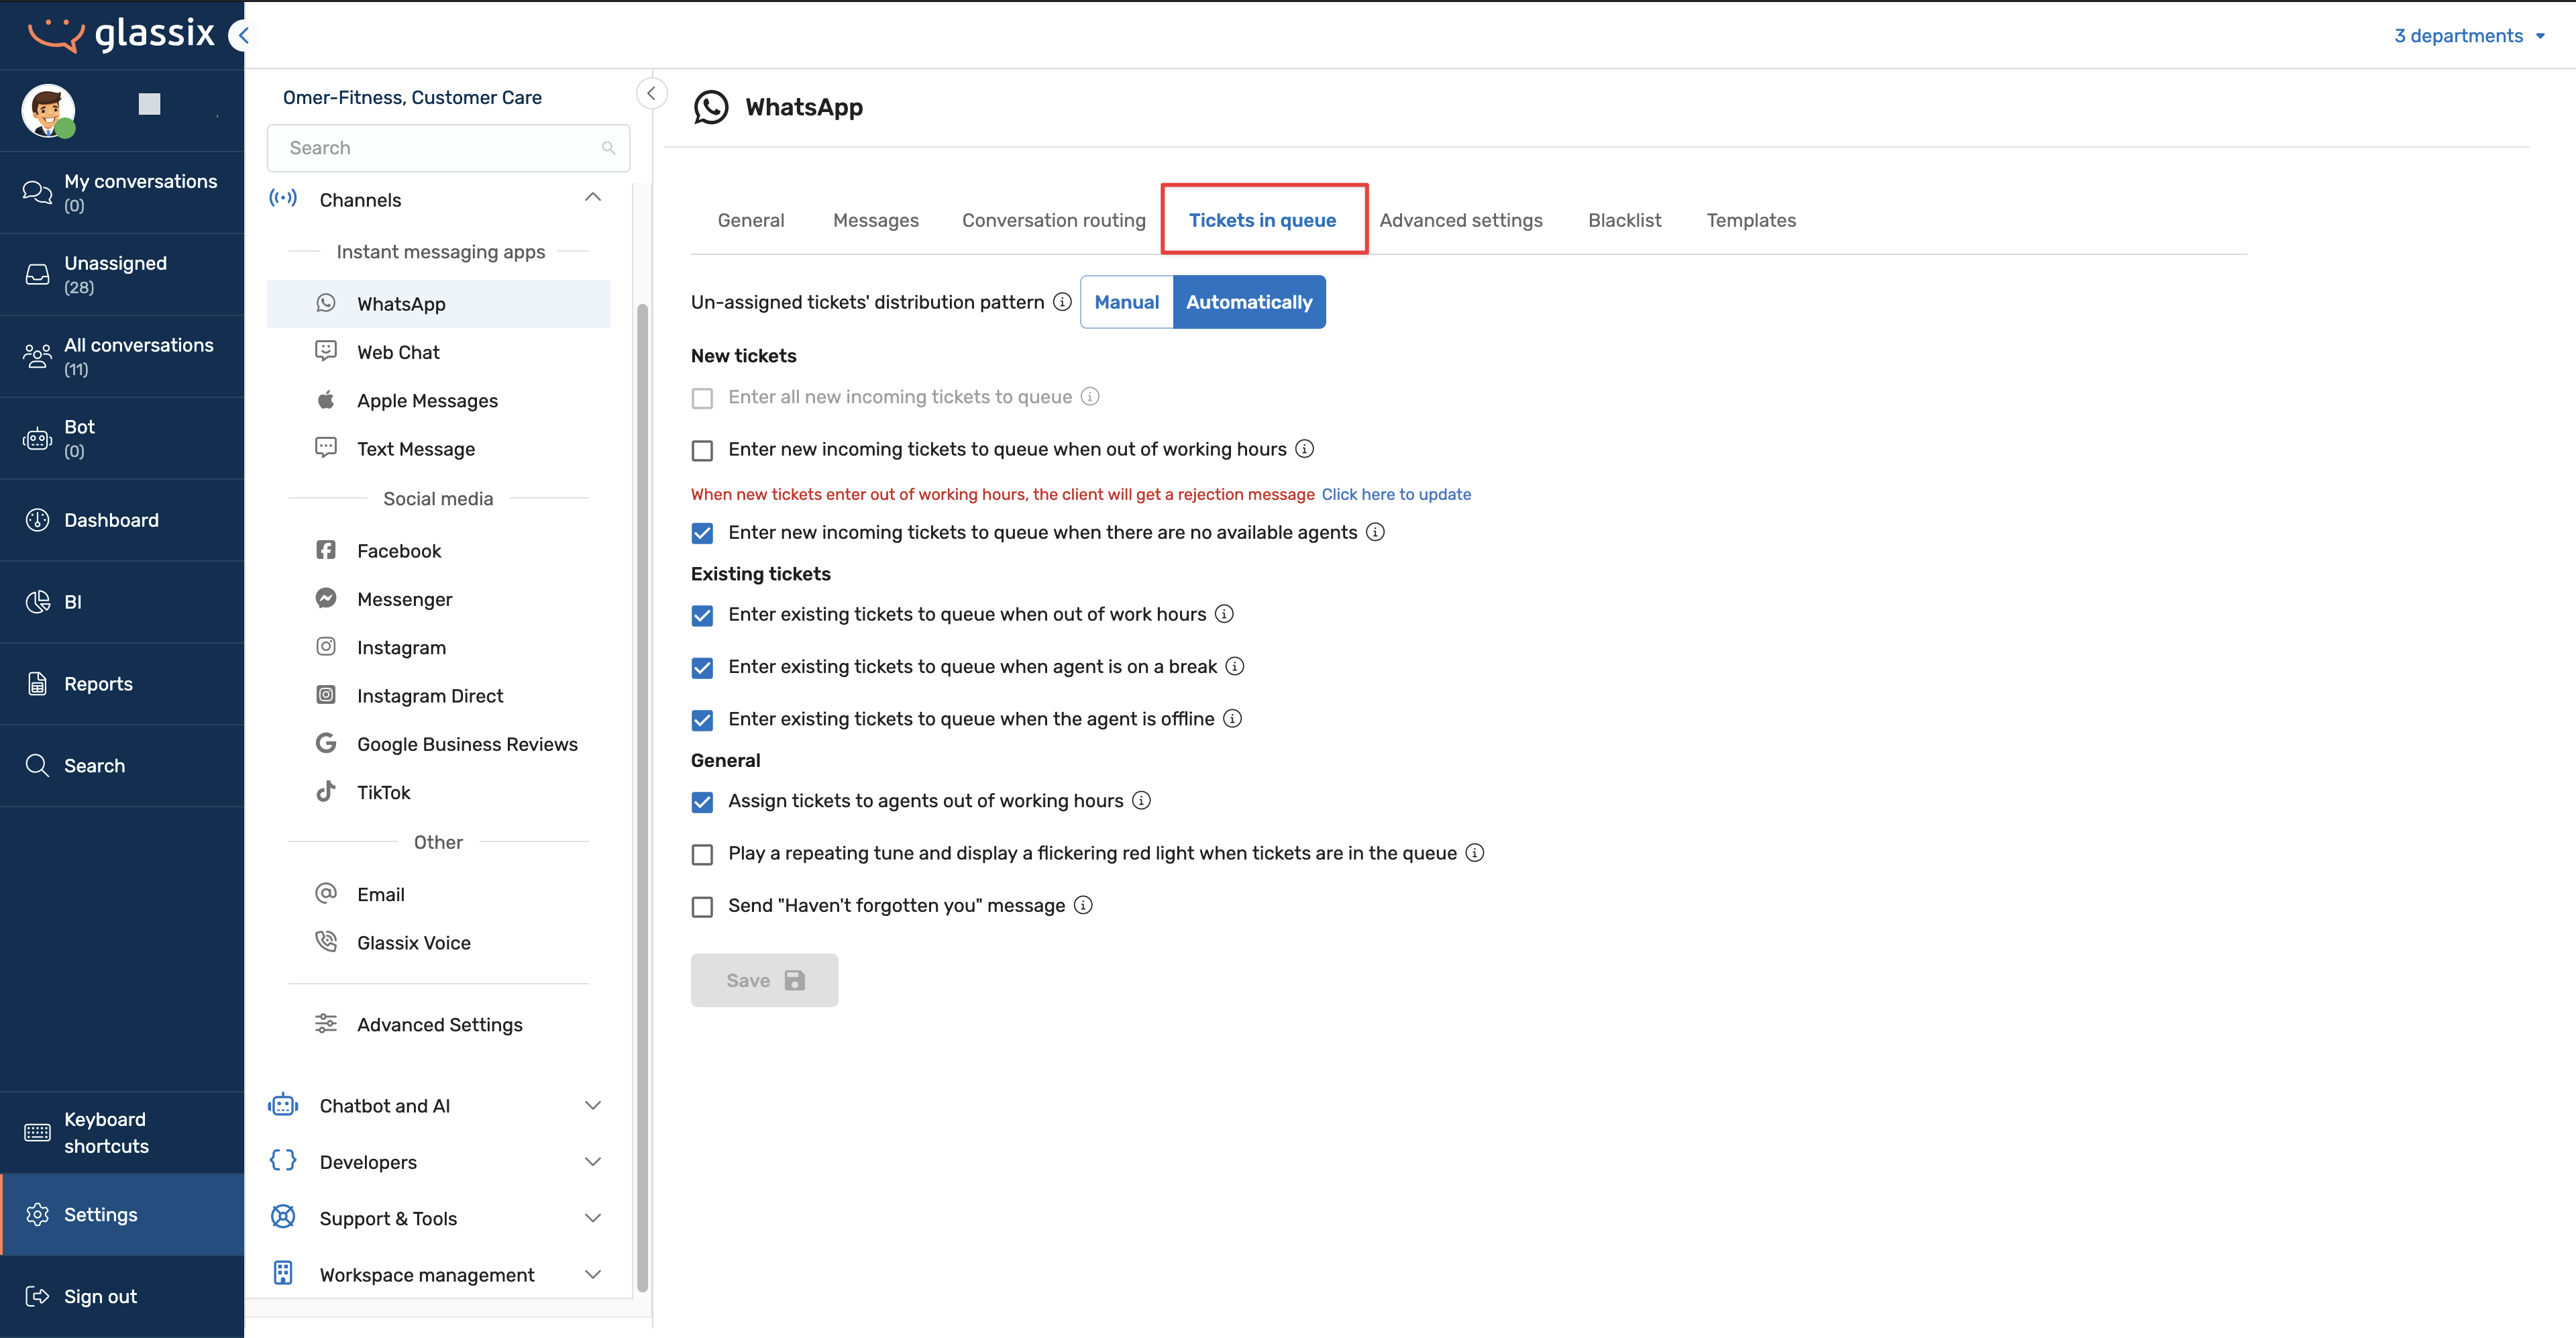
Manual vs. automatic assignment You can choose whether tickets are assigned automatically by the system or held in the queue for manual assignment. Switching between these modes enables or disables the additional options on the page. For a full explanation of how automatic assignment works, see the Automatic Assignment article.
On this page, you will also see various settings for new and existing tickets. Enable/disable them via the checkboxes.
Conversation Routing
Info:Conversation routing is available on most channels. Apple Messages and web chat does not have this tab.
Conversation routing lets you automatically send tickets from specific contacts to specific agents or teams, bypassing the standard assignment logic. It's beneficial for VIP customers, dedicated account contacts, and companies that constantly reach out from the same address.
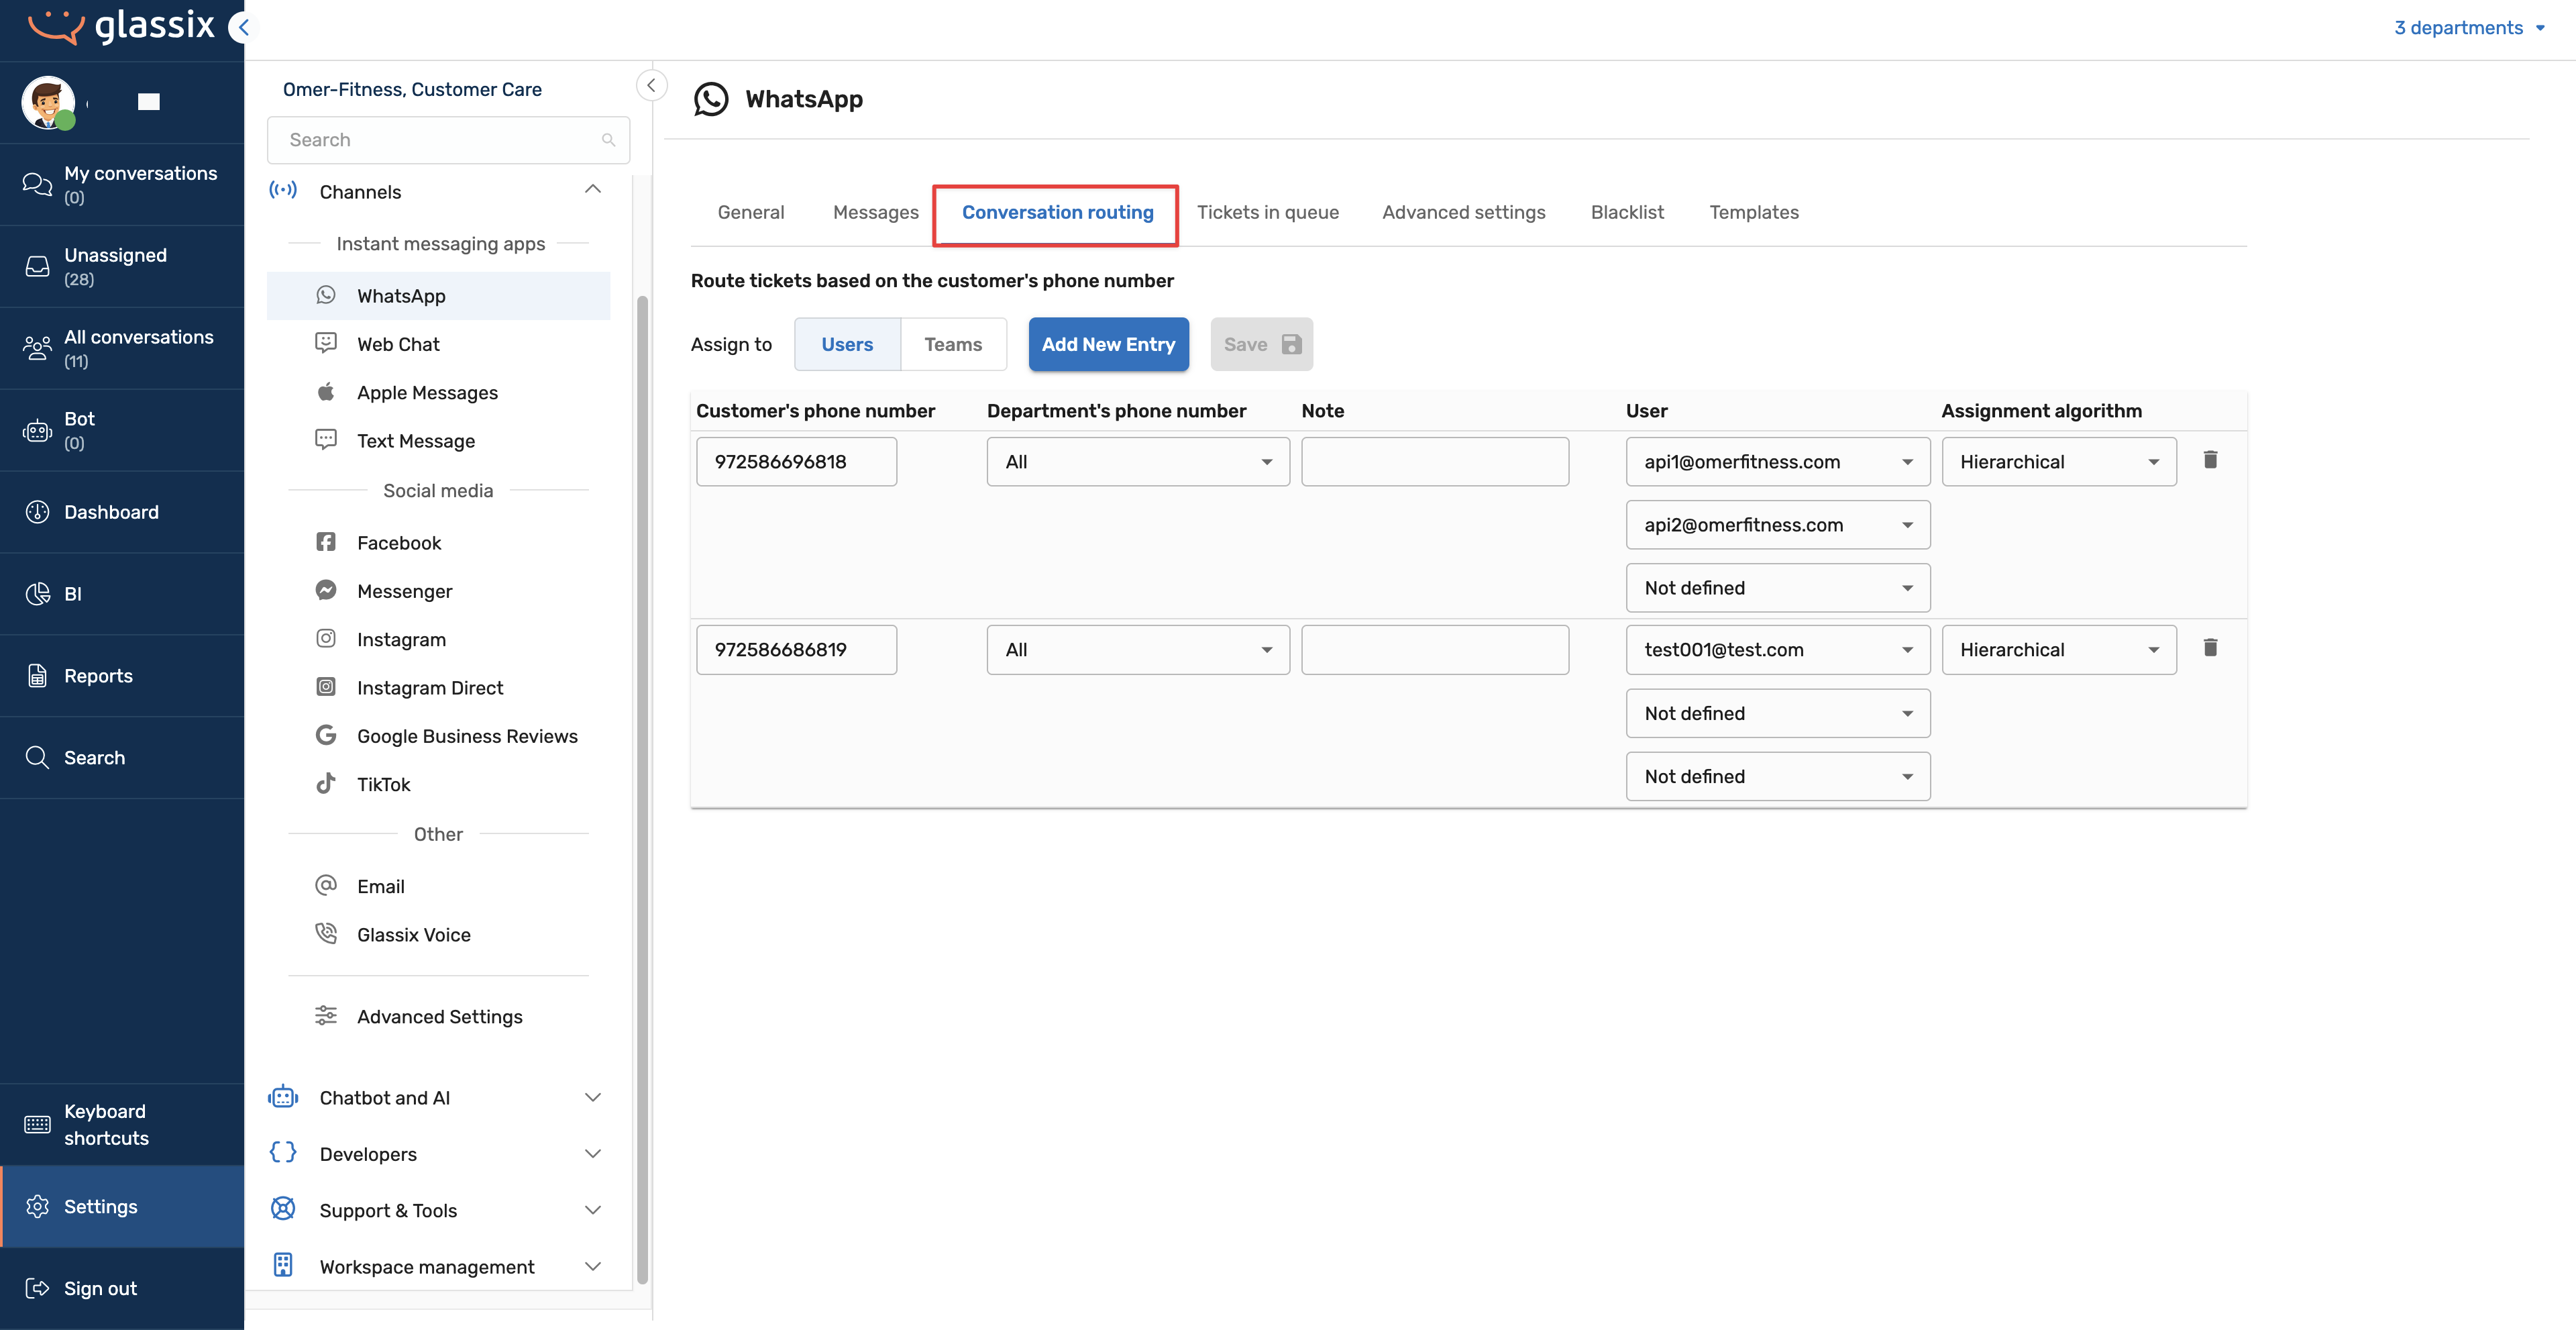
Routing to users/teams You can route matching tickets to up to 3 individual agents or a team. Routing to a team is often more practical since there's no cap on team size, and it gives you more flexibility as your team changes over time.
Routing by identifier Rules are based on the sender's identifier (e.g., email address, phone number). If your channel has multiple identifiers, for example, several email addresses, you can create rules that only apply when a ticket comes in through a specific one. This lets you handle the same sender differently based on the address they used.
Routing by domain Instead of specifying individual email addresses, you can route all contacts from an entire domain by entering it in the format @domain.com. For example, adding @omerfitness.comAs a routing entry, it will send any email from that domain to your designated team, no need to list every possible address individually. This significantly expands what routing can do, from managing single contacts to handling entire companies.
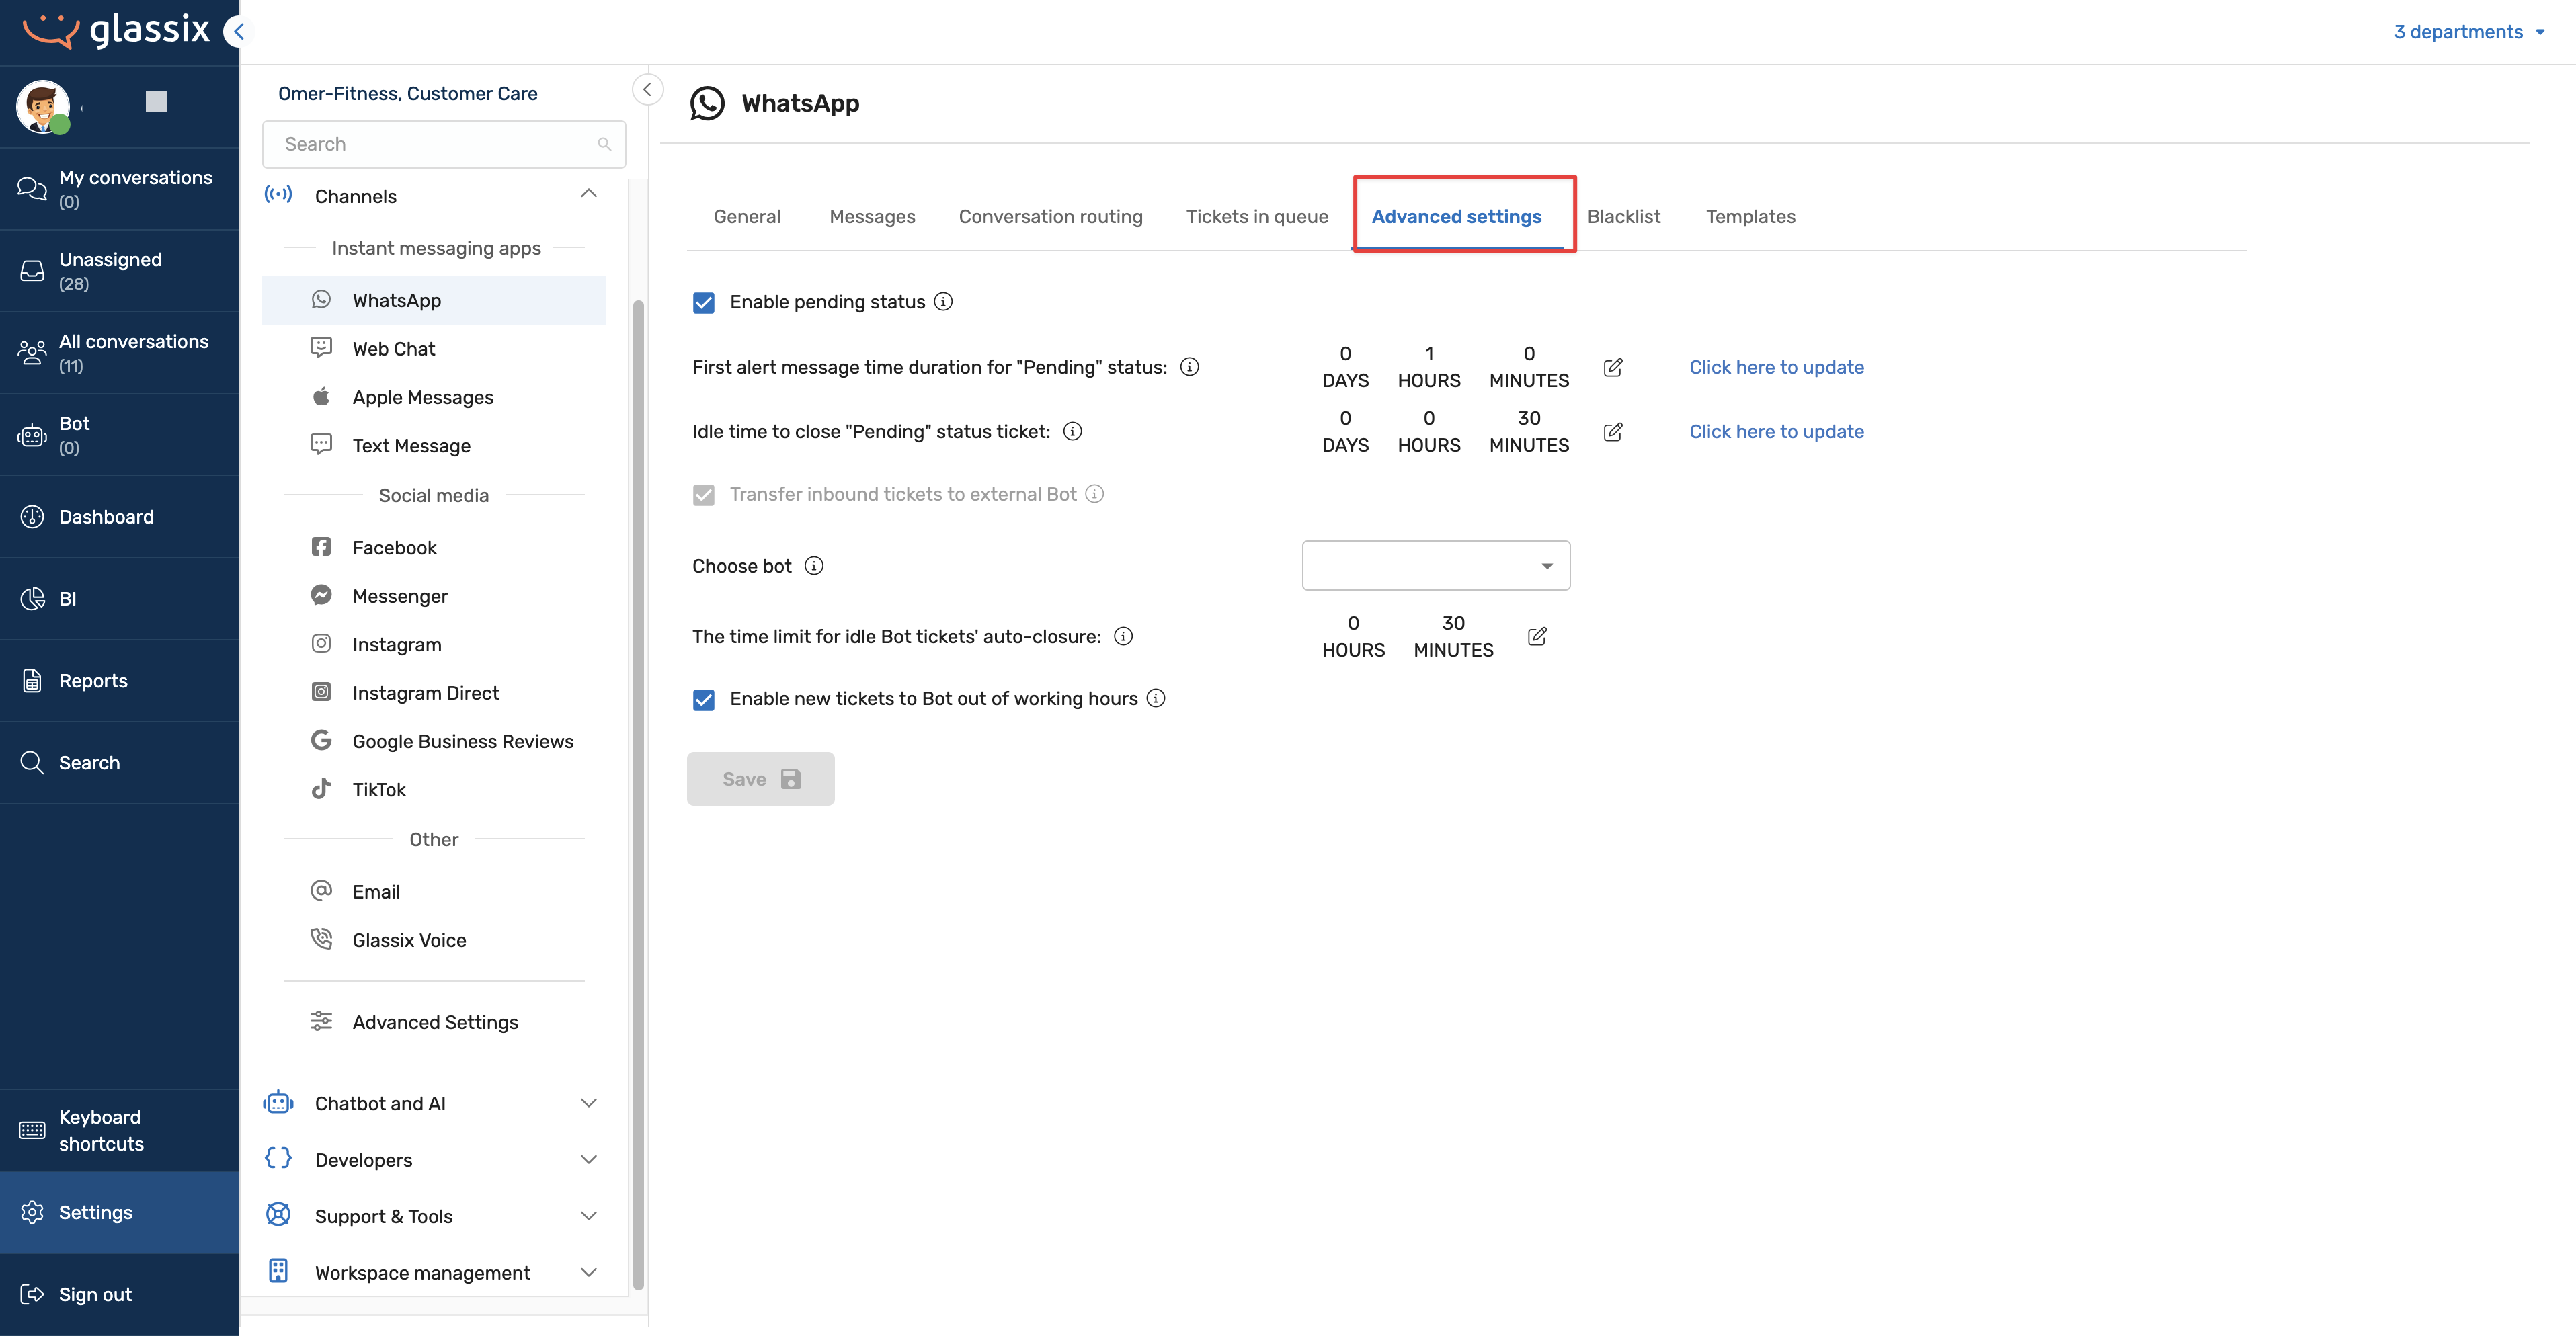
Advanced Settings
Every channel has an Advanced Settings tab. The options inside vary depending on the channel type. For example, synchronous channels like WhatsApp and Web Chat offer options different from asynchronous channels like e. Still, all channels include pending status settings that control how and when tickets move into or out of a pending state.
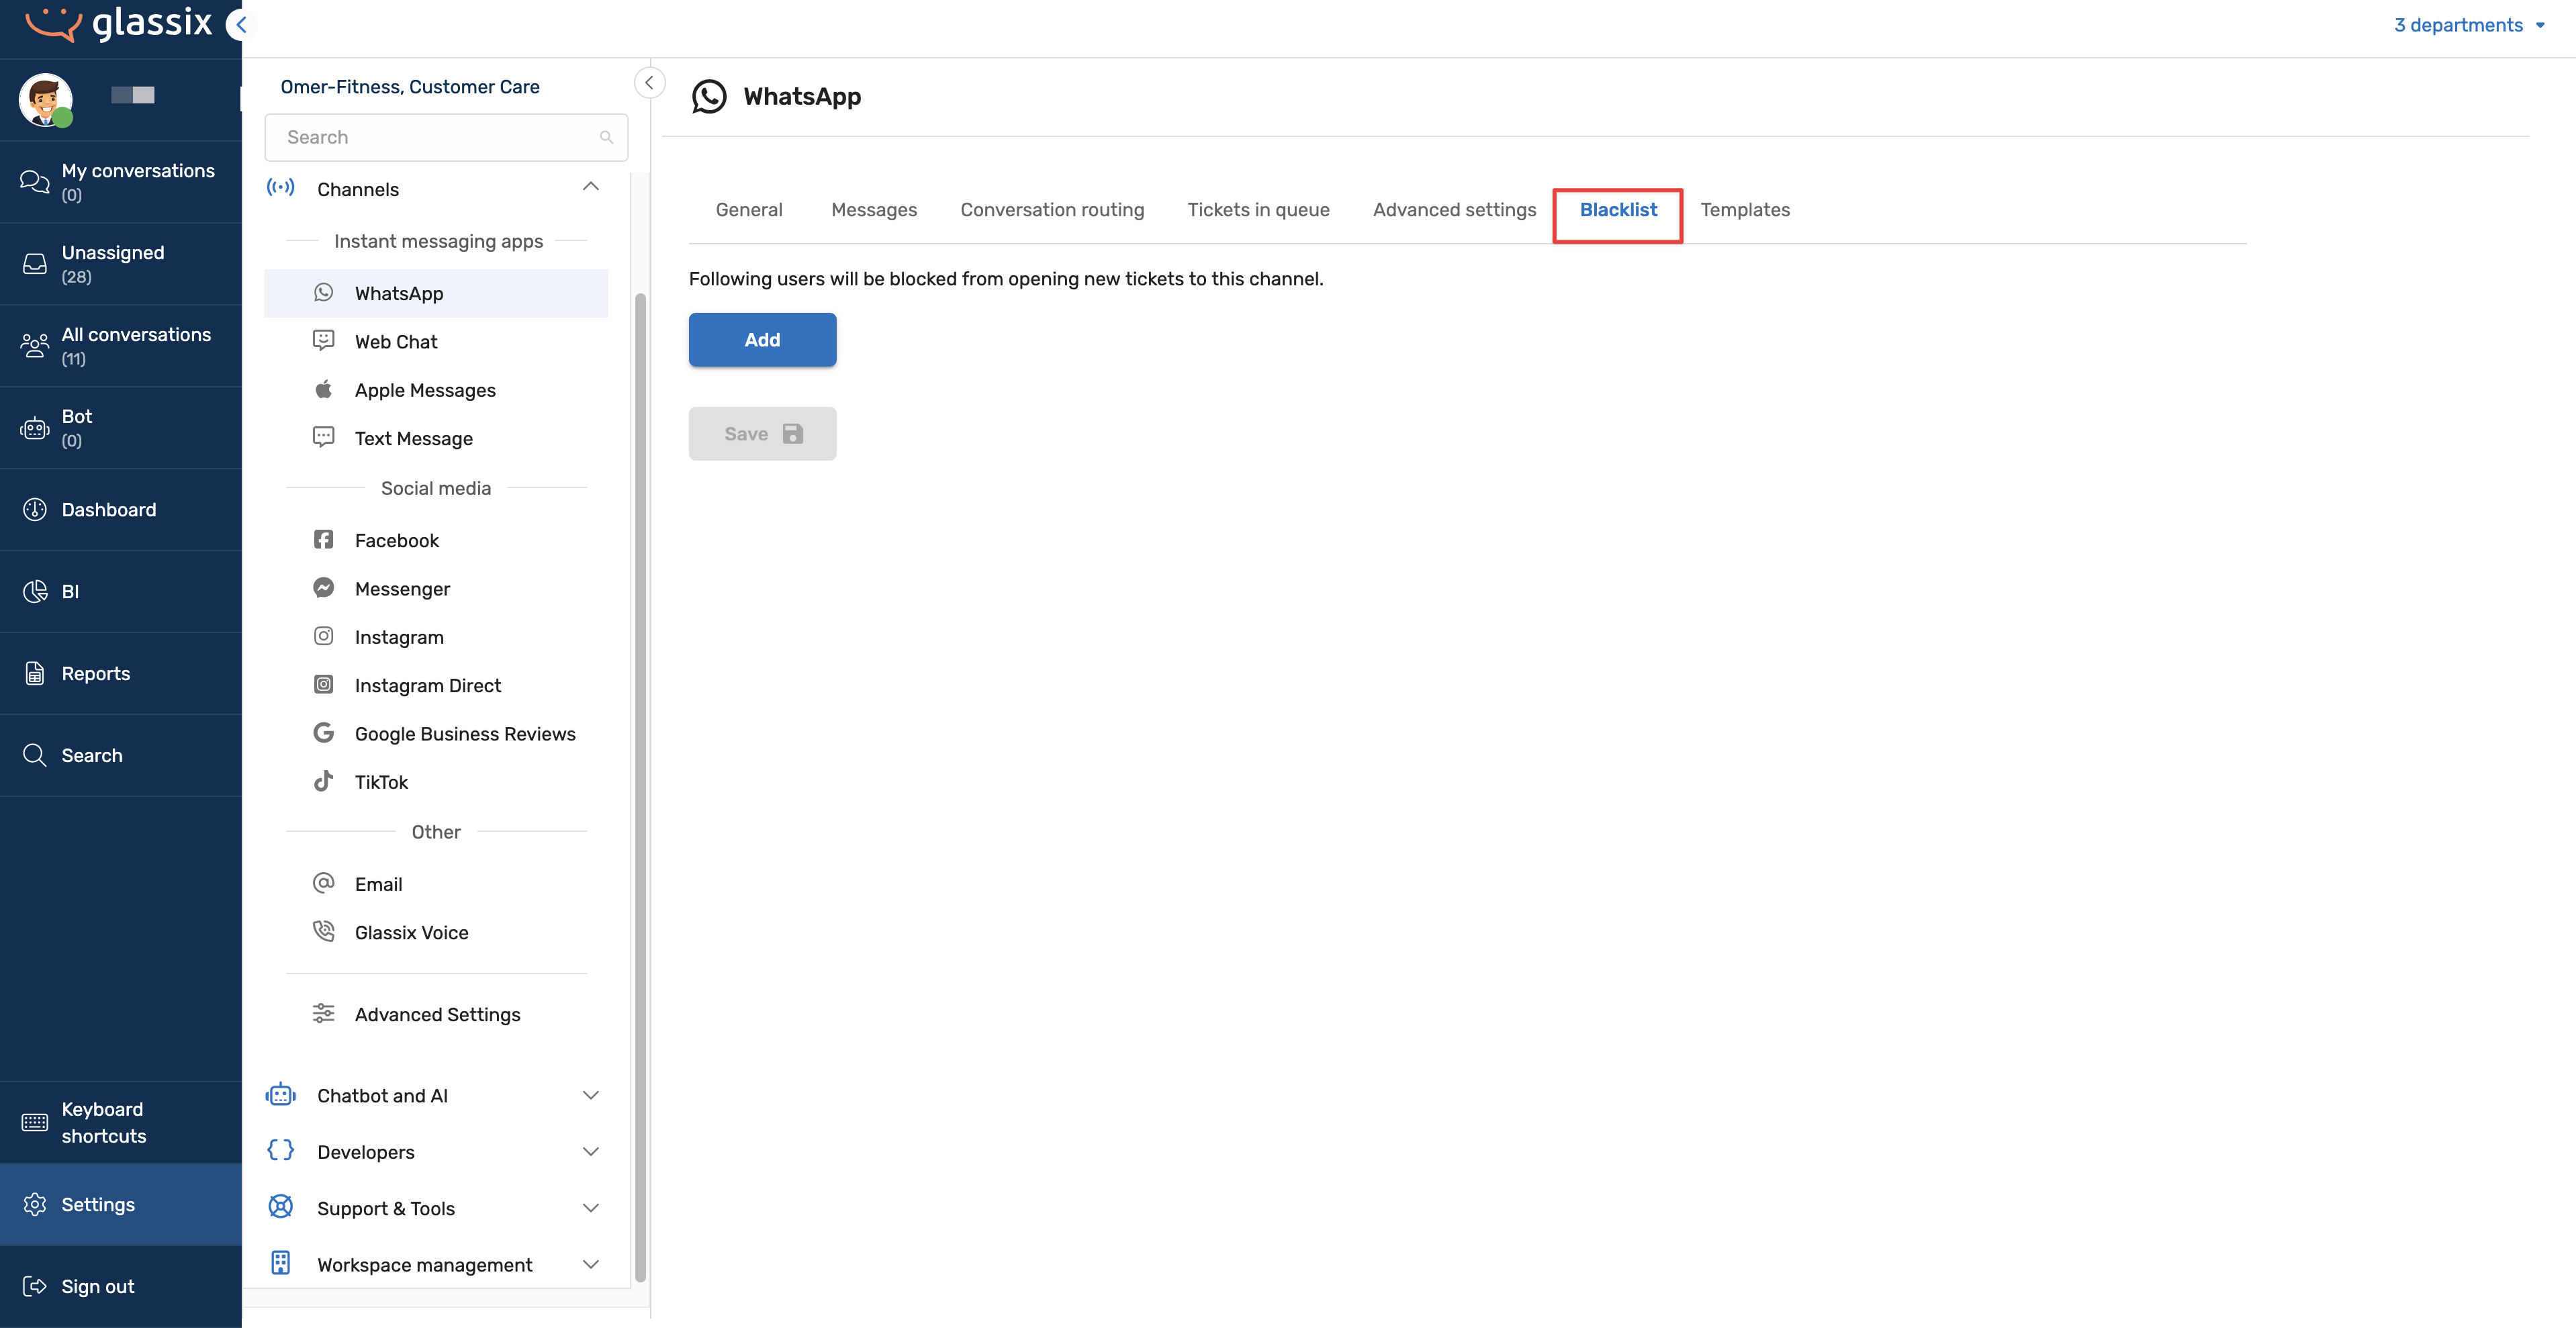
Blacklist
Every channel has a Blacklist tab. It starts empty and controls which contacts are silently blocked from creating new tickets on that channel.
The most common way a contact ends up on the blacklist is when an agent blocks them from within a conversation.
Common reasons for blocking a contact include filtering out spam, removing contacts that are irrelevant to your business, or blocking a customer at a supervisor's direction.
Adding to the Blacklist Manually
On some channels, you can also manually add contacts to the blacklist from the settings page, without needing to block them in a conversation. This is supported on channels where it's practical to know the contact's identifier in advance, such as a known email address or phone number.
Web Chat does not support manual additions because the unique visitor identifier isn't something you'd typically know in advance. You can still block web visitors, but only from within an active conversation.
On the Email blacklist, you'll also see the option to block by domain using the @domain.com format. This is useful for blocking all future emails from an organization rather than managing individual addresses.
Managing the Blacklist
To review or remove blocked contacts, go to the channel's settings and open the Blacklist tab. You'll see a table of blocked contacts with the date they were blocked and any notes. Click the trash icon next to an entry to remove it.
Channel-Specific Settings
Some channels have additional tabs or settings beyond the shared ones described above:
- WhatsApp Includes a Templates tab for managing WhatsApp message templates and automations. See the WhatsApp Templates Management for details.
- Web Chat Includes chat widget design and installation. See our Chat Widget documentation for more information.
For more on advanced settings and to prioritize channels for automatic distribution, refer to this document.
Updated 5 months ago