Connect a SIP Address
Terminate calls at a SIP address instead of a phone number
Note:Your telephony solution must be capable of terminating at a SIP address in order to use this feature. If you must use a phone number, or if you need us to provide you with a telephony solution, please refer to this article instead.
Overview
In addition to traditional phone numbers, we also provide SIP addresses to serve as termination URLs for connection with any SIP-Capable system.
Our SIP addresses can be connected directly to:
- Common PBX solutions (FreePBX, Asterisk, FusionPBX).
- Cloud carriers like Vonage
- Communications Platform as a Service (CPaaS) solutions like Twilio
Step One: Create a SIP Address in Glassix
-
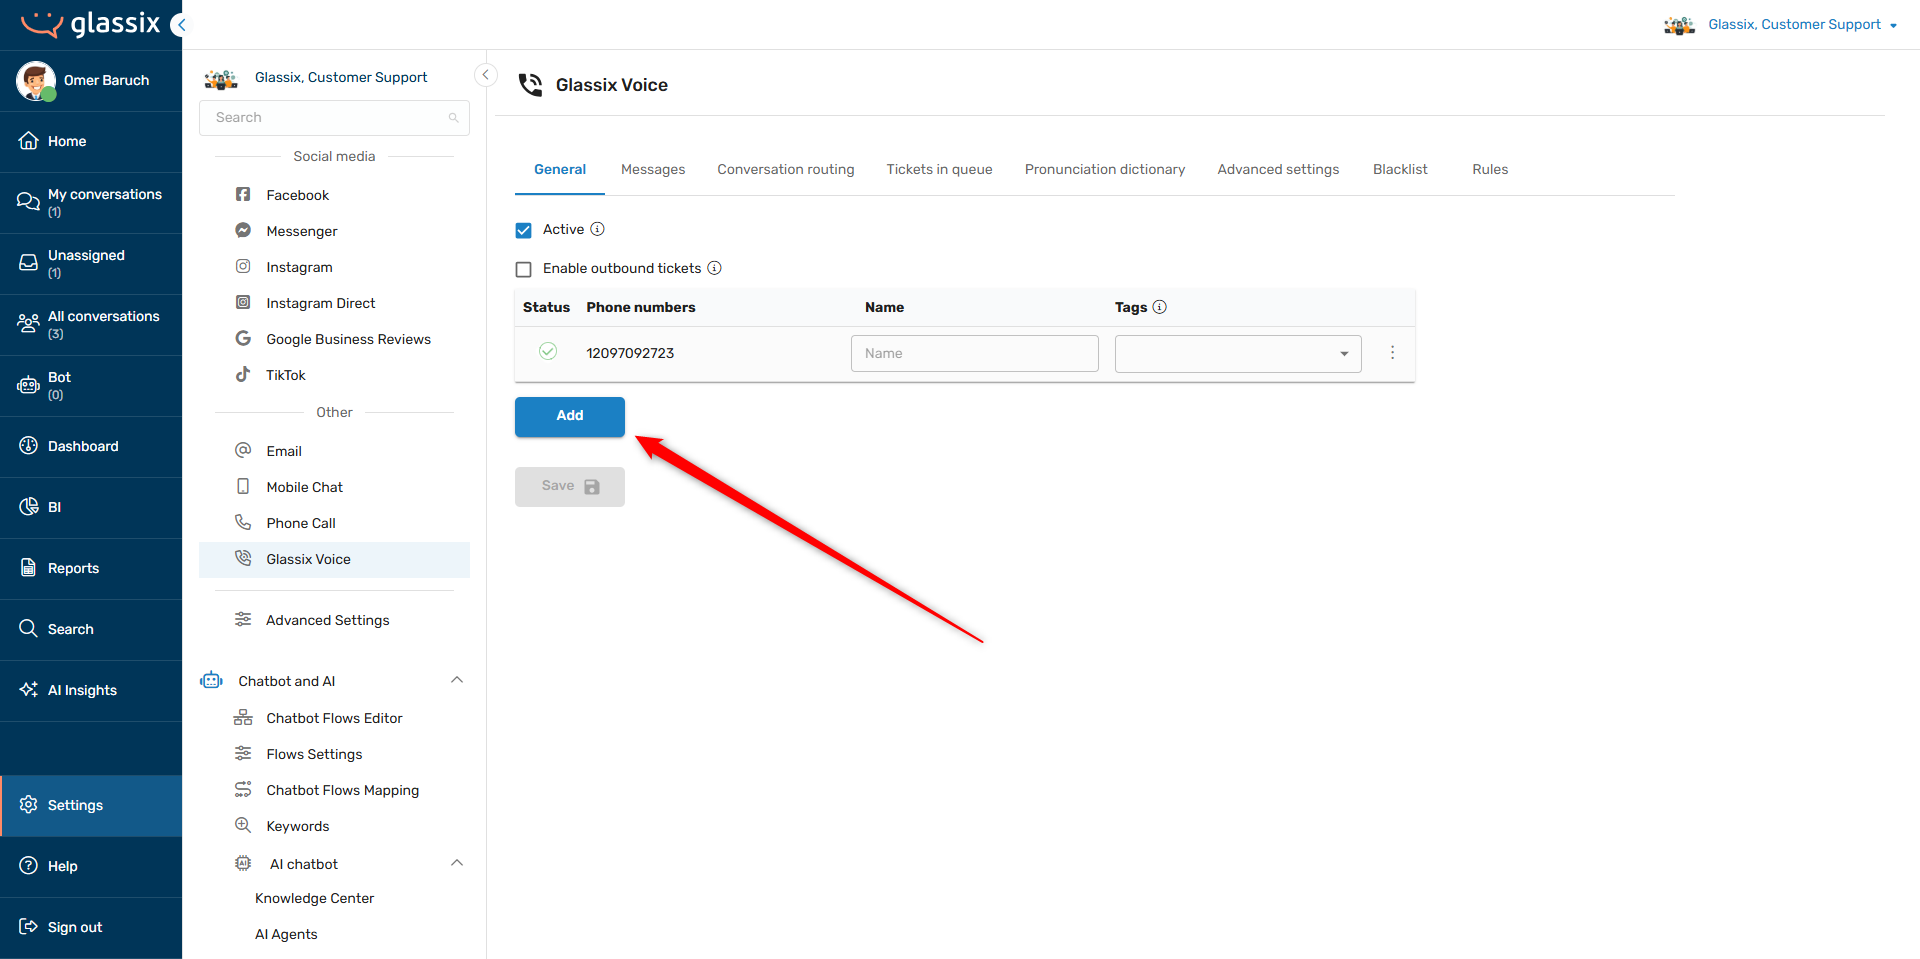
Click here or navigate to Settings → Channels → Glassix Voice:
-
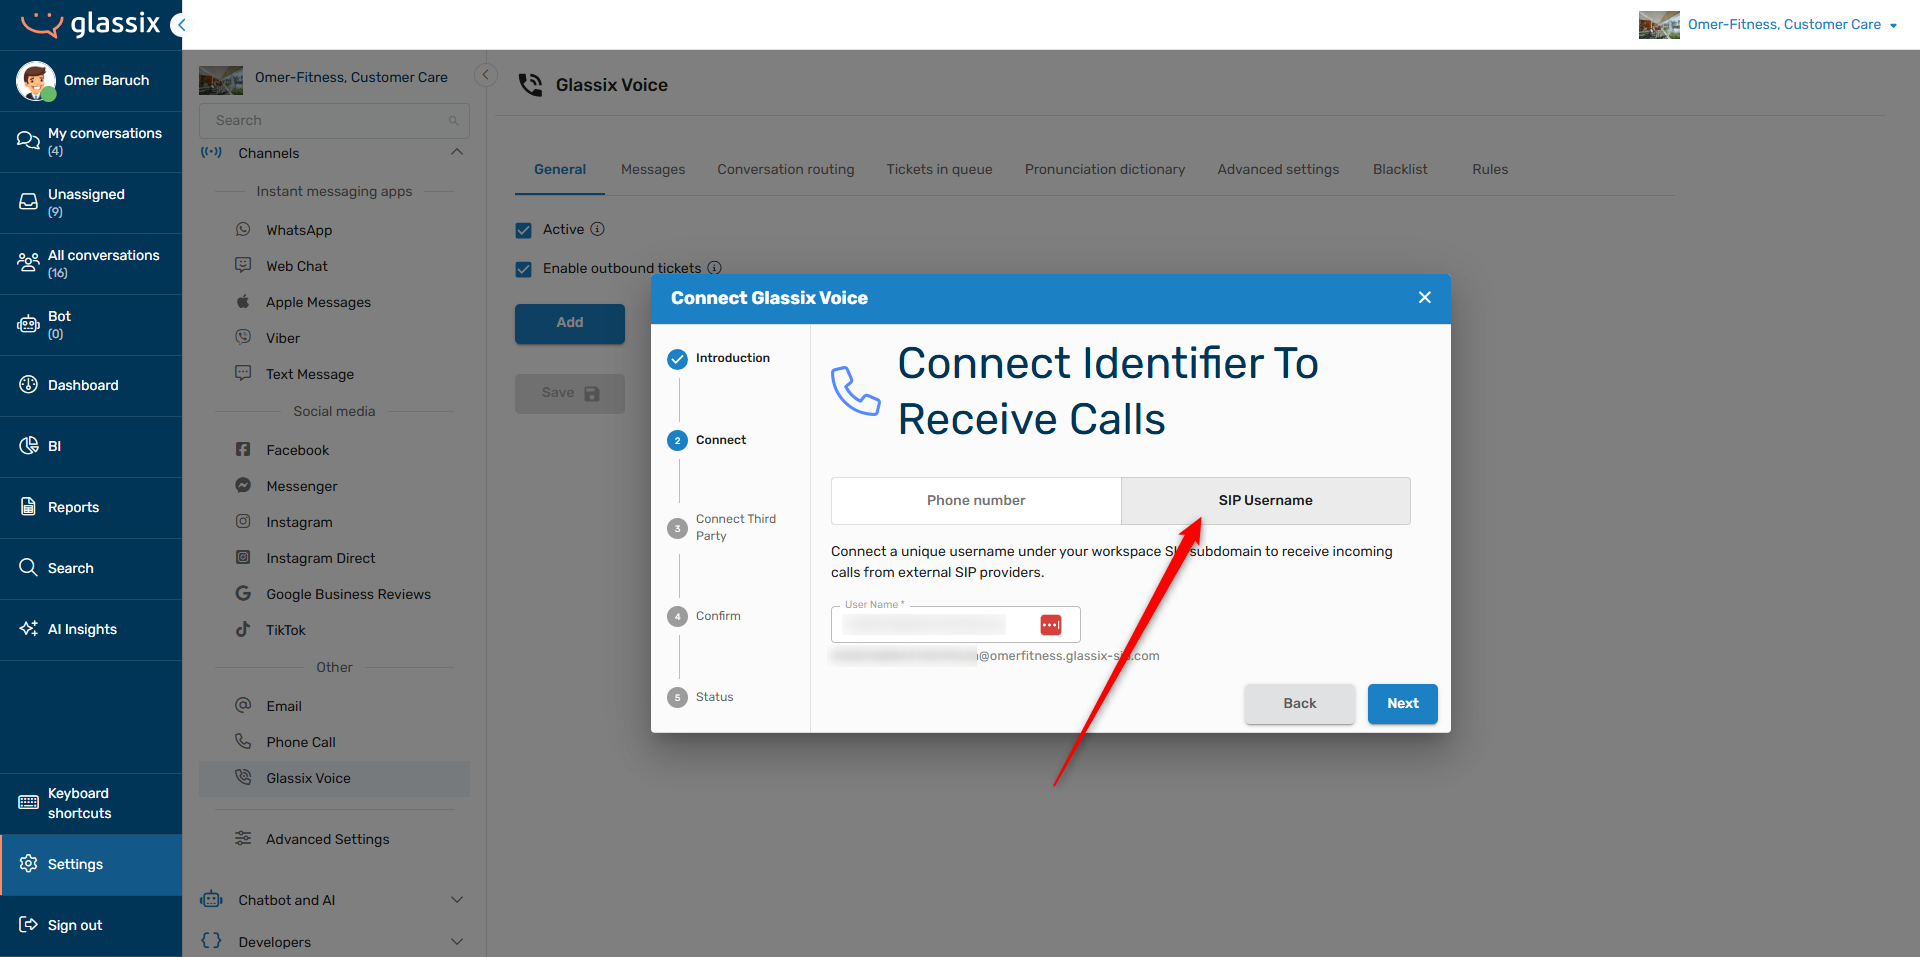
Proceed to the Connect screen in the popup modal and click on SIP Username:
-
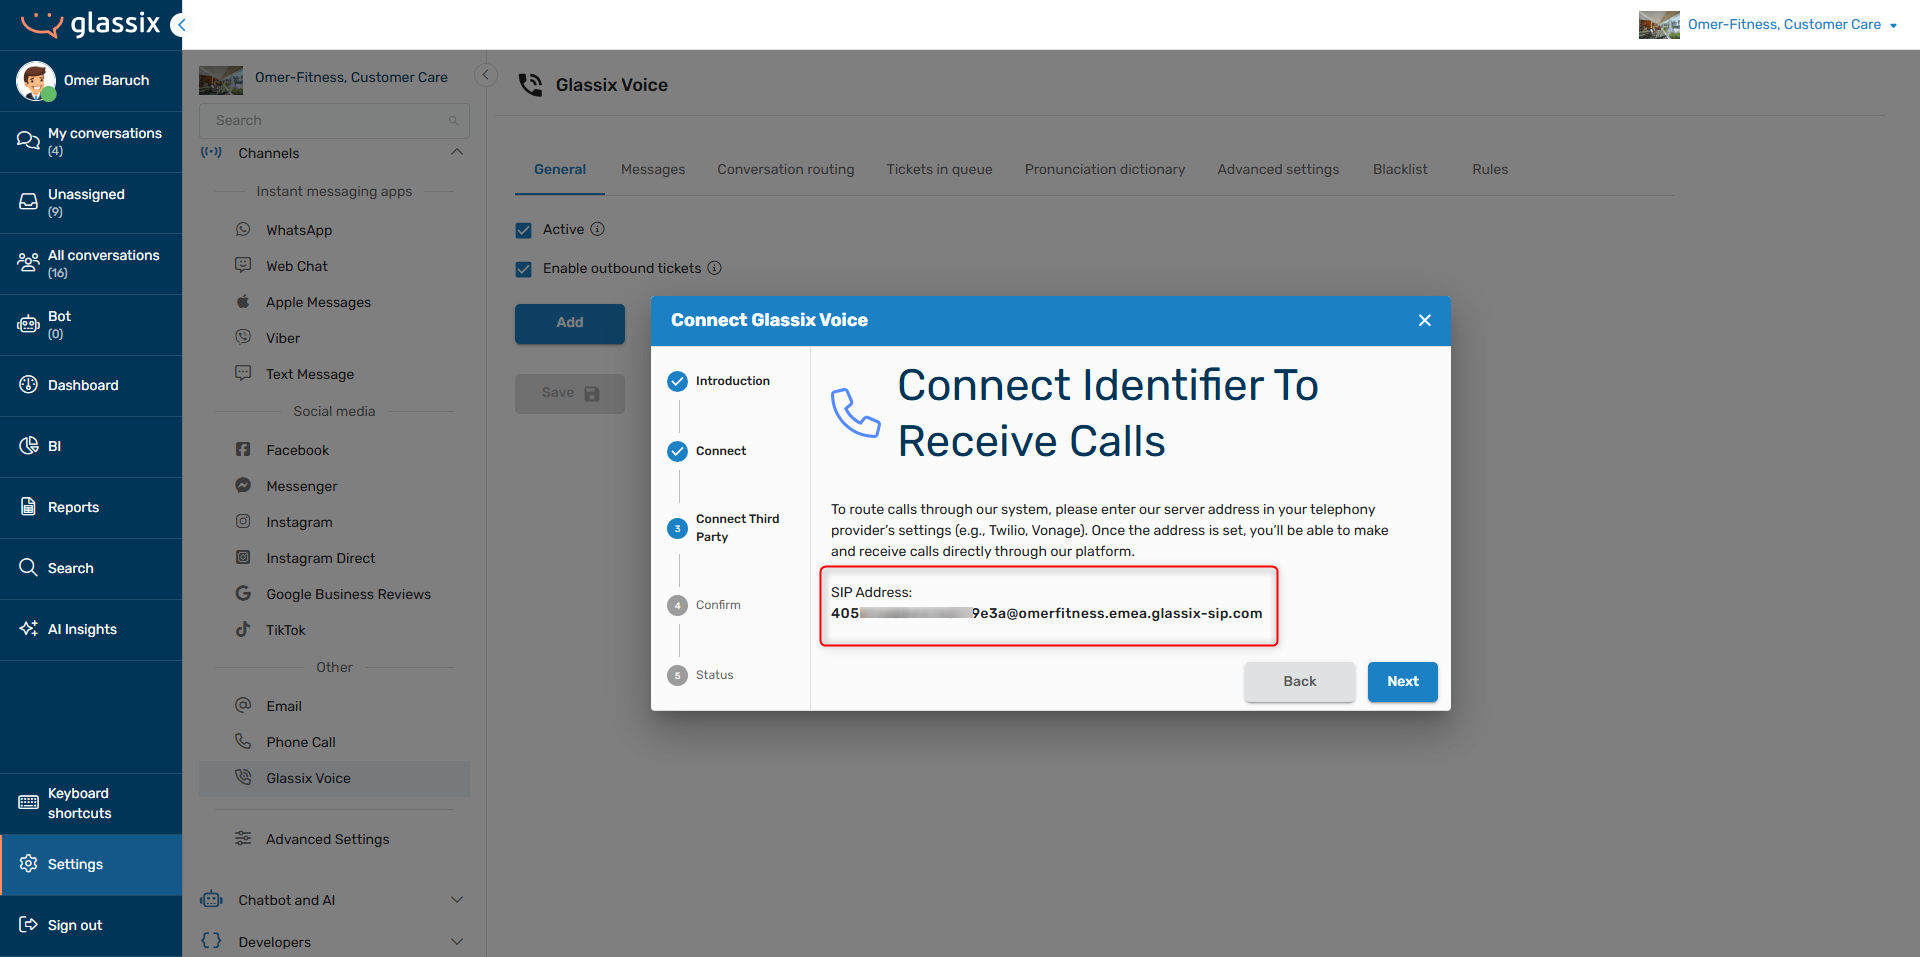
A username will be provided for you. Click Next and copy the provided SIP Address:
-
Click Next two more times to confirm and create the SIP address, then close the modal.
Step Two: Configure Your SIP-Compatible System to Connect to Glassix
Once you have a SIP address to connect to, you will need to create an inbound configuration in your SIP compatible system in order to connect your system to Glassix.
Info:The steps for configuring these values will depend on your provider. If you're not sure how to set up SIP configurations in your system, please reach out to your SIP provider for more information.
In your provider, set the destination:
-
SIP URI/Hostname: the regional server address at the end of your username. In the example below, the regional server address is
emea.glassix-sip.com.
-
Port: 5060 (UDP/TCP) or 5061 (TLS)
-
Protocol: UDP, TCP, or TLS (TLS recommended)
Once you have finished the inbound configuration, proceed with IP Whitelisting for SIP Transfers from our Connect a Number article if you intend to transfer calls from Glassix back to your telephony provider.
Updated 4 months ago