Creating and Managing Teams
Learn how to create and manage teams at Glassix
Overview
Teams allow you to organize agents within a department into smaller groups for reporting, status management, and ticket routing. This article walks through how to create a team, configure a team leader, and use Teams for ticket routing and agent monitoring.
Getting There
To navigate to the teams tab, click here or:
Go to Settings.
Click on the symbol -> Users -> All Users and Teams.
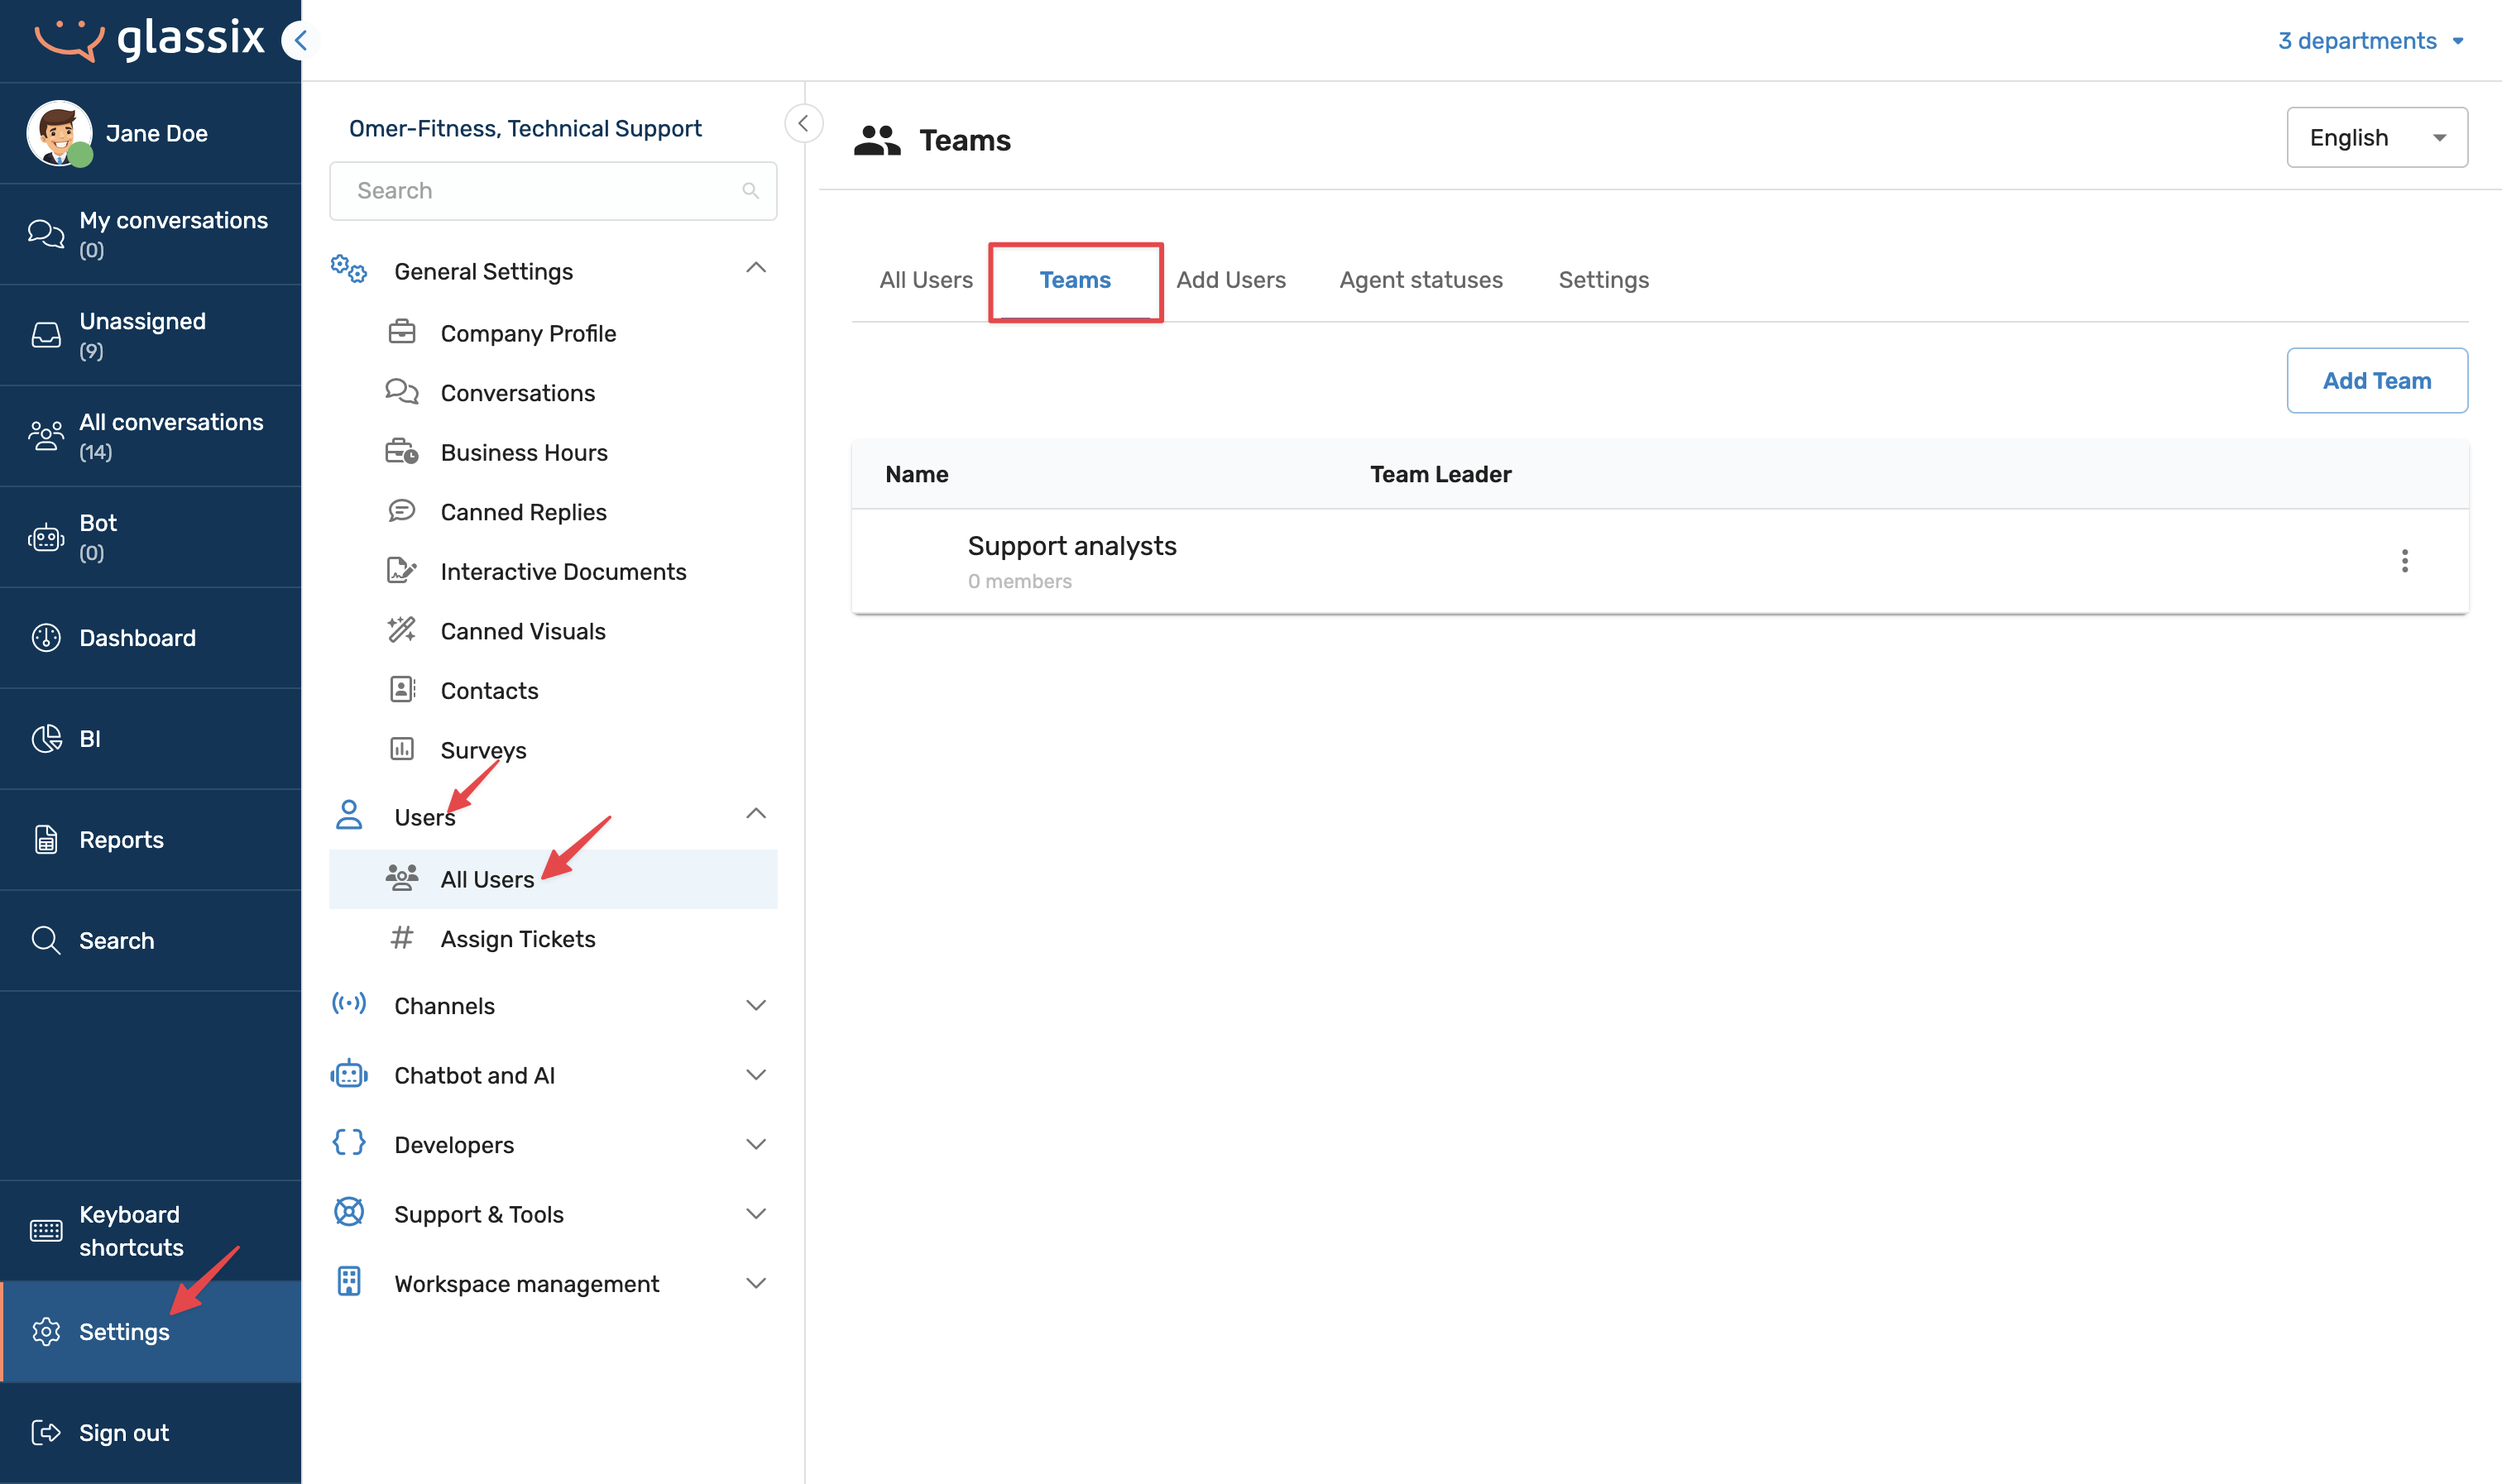
Create a Team
- Click on Add Team and give it a name. Click Confirm.
- Now choose a team leader.
Note:
If the team leader is not already a Department Admin or Workspace Admin, you must first grant them the Team Leader role.
-
Navigate to Users.
-
Open the profile of the intended team leader.
-
Under Additional Roles, assign them the Team Leader role.
Team Leader is an admin-level permission that sits below Department Admin and Workspace Admin in the hierarchy. If the user already holds either of those roles, skip this step.
-
- Add members to the team by clicking Assign New Members.
- Click Save.
What Team Leaders Can Do
Team leaders manage their team directly from the dashboard. Their primary functions are:
Status Management
Team leaders can change a team member's status to Online, Break, or Offline as needed. For example, if a team member has been on break for 20 minutes but was only scheduled for 15, the team leader can pop them back online so they resume receiving automatic ticket assignments.
Signing Out Team Members
Team leaders can sign out team members directly from the dashboard. This is particularly useful for organizations on concurrent licenses.
Info:Glassix offers two license types:
- Named licenses - each user has a reserved seat and can always sign in.
- Concurrent licenses - your organization gets a set number of active seats (e.g., 30), but can have a larger user pool (e.g., 150). Only the defined number of users can be signed in at any one time.
If a user stays signed in after their shift ends, a team leader can clear their seat to make room for the next agent.
Monitoring Teams in the Dashboard
The Teams table gives managers an overview of all teams and their current statuses without needing to scan a large user list.
For example, a department manager overseeing 60 agents across three shifts can:
- View how many agents per team are online or on break at a glance.
- Filter the Users table by team.
- Identify issues at the team level and escalate to the relevant team leader, rather than managing individual agents directly.
To access the Teams table, navigate to the dashboard and select the Teams view.
Routing Tickets to Teams
Teams can be configured to receive tickets automatically based on tags. There are three primary ways tags get applied to a conversation:
1. Channel Rules
Assign a tag to an inbound channel, such as a dedicated phone number or email address. When a ticket arrives through that channel, the tag is applied automatically, and the ticket is routed to the team associated with that tag.
To define channel rules, navigate to Settings → Channels and select the relevant channel.
Example: An East Coast support email address is tagged east-coast. Any ticket arriving at that address is automatically routed to the East Coast support team.
Read more on ticket assignment here.
2. Chatbot Flows
Within the flow editor, you can add a tag to any card in the conversation flow. When a user follows a path that leads to that card, the tag is applied to the conversation, and it is routed to the matching team.
Example: A chatbot asks the user whether they need Sales or Support. Choosing Sales triggers a flow tagged sales, routing the ticket directly to the sales team.
3. Sender-Based Routing (Email)
Route tickets based on the sender's email address or domain. Tickets from that address will always go to the designated team.
To define sender-based routing, navigate to Settings → Channels → [Channel] → Conversation Routing.
Example: All emails from @swedish.com are routed to a dedicated healthcare team. All emails from a .gov domain are routed to a compliance team.
Read more on conversation routing here.
Tip:When a ticket is routed to a team, all members of that team are eligible to receive it via automatic assignment. Only one agent receives the ticket at a time. For more on how that assignment works, see Automatic Ticket Assignment.
Teams vs. Departments
Teams and departments serve different purposes. Use the following as a guide:
- Use Teams to split agents within a shared department for routing or reporting purposes. Examples: morning and evening shifts, floor sales and phone sales, East Coast and West Coast regions.
- Use Departments when groups need access to different data or ticket types. For example, Sales, Support, and Finance should be separate departments if they require different information access.
Important Notes
Note:
- Teams are department-specific. A Team Leader role assigned in Department A does not carry over to Department B.
- A user can be a team leader in multiple departments, but each assignment must be configured separately.
- Capacity limits and automatic assignment rules still apply to team members. Being assigned to a team does not change an agent's availability requirements.
Updated 2 months ago